Introduction
Whether you're launching a new business or upgrading your current operations, SmartVend can help you to streamline your processes, drive efficiency and maximise your revenue. In this guide, we'll cover everything you need to know to achieve this, from creating the products you'll offer to maintaining the machines that will deliver them.
Before diving into the detail, grab your SmartVend login details and a list of your products and machines, and we'll make a start.
Creating Assets
The first step in this process is creating machine assets. Our Customer Experience team will add telemetry units to SmartVend once they have been shipped, allowing you to focus on creating the remaining assets: machines, coin mechs, note readers, and card readers.
To create these assets, you need at least Super User permissions.
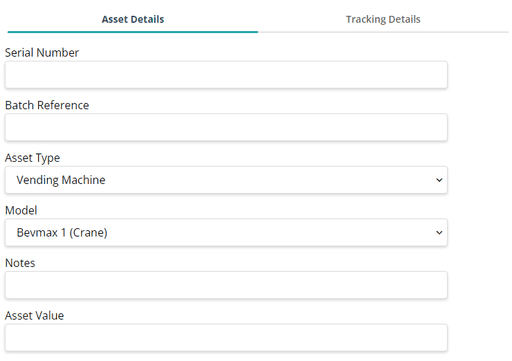
In Administration, under Equipment and Assets, click on Assets. Select 'Add Asset' and enter the mandatory details in the Asset Details tab: serial number, asset type, and model. You can also enter additional details such as batch reference, notes, and asset value.
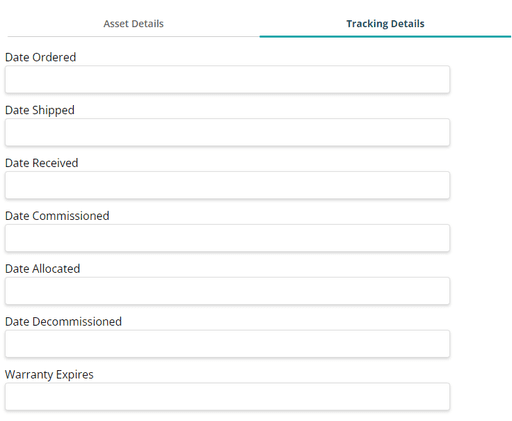
To record dates like when the asset was ordered or shipped, use the Tracking Details tab (optional).
Add the asset by selecting 'Add' at the bottom of the screen.
Note: If you have multiple assets to import, you may find it useful to use our Asset Template, which can import multiple assets at once.
Create Product Categories
To create product categories, you need at least Super User permissions. In Administration, under Products, click Categories.
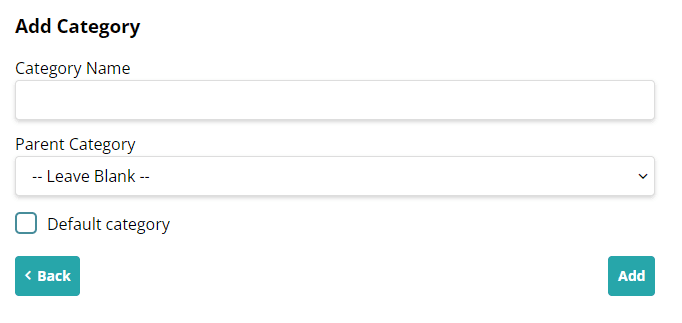
Select 'Add Category' and enter the Category Name. For a 'parent' category, leave Parent Category as '— Leave Blank —'. For a child category, select the parent category from the dropdown.
Use the Default Category option to mark this category as the default for new products.
Add the category by selecting 'Add'.
Create Products
To create products, you need at least Super User permissions.
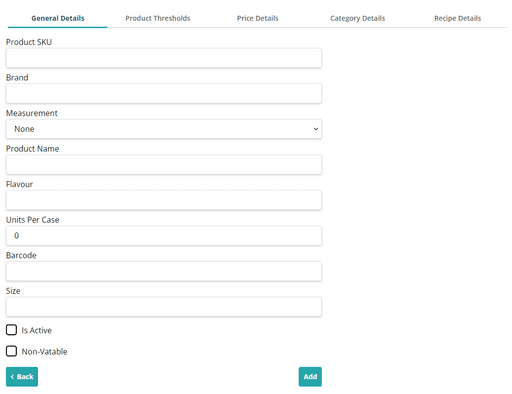
In Administration, under Products, click Products. Select 'Add Product' and enter the mandatory details in the General Details tab: Product SKU and Product Name.
Additional details, such as Brand, Measurement, Flavour, Units Per Case, Barcode, and Size, are optional but necessary for certain SmartVend features. For example, without Units Per Case, costs won't be calculated in the Price Details tab, affecting Stocktakes, Stock Transfers, and Deliveries. Use the 'Is Active' flag to mark the product as active and the 'Non-Vatable' option if applicable.
The Product Thresholds tab, accessible with a Stock license, allows you to set minimum and maximum stock levels.
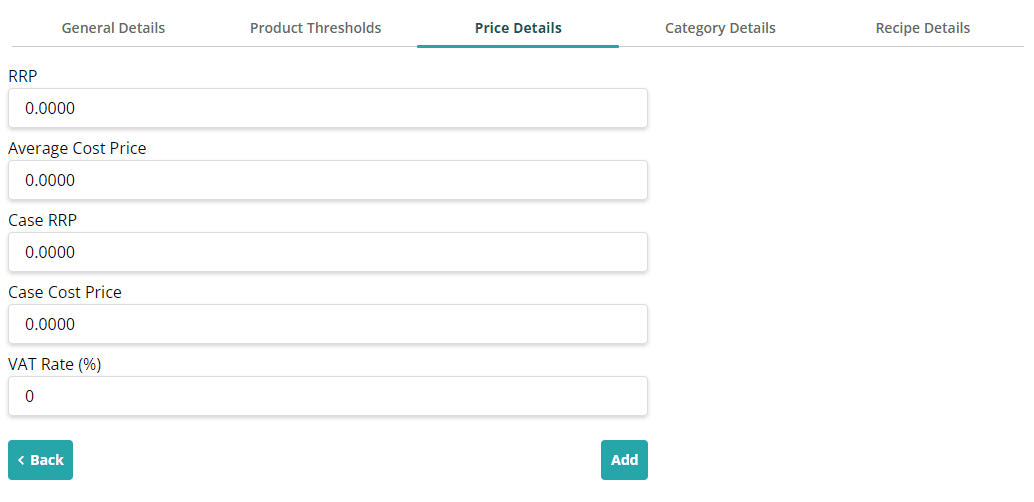
In the Price Details tab, entering Units Per Case allows the system to calculate case prices based on individual prices and vice versa when entered. You can also set a Tax Rate here.
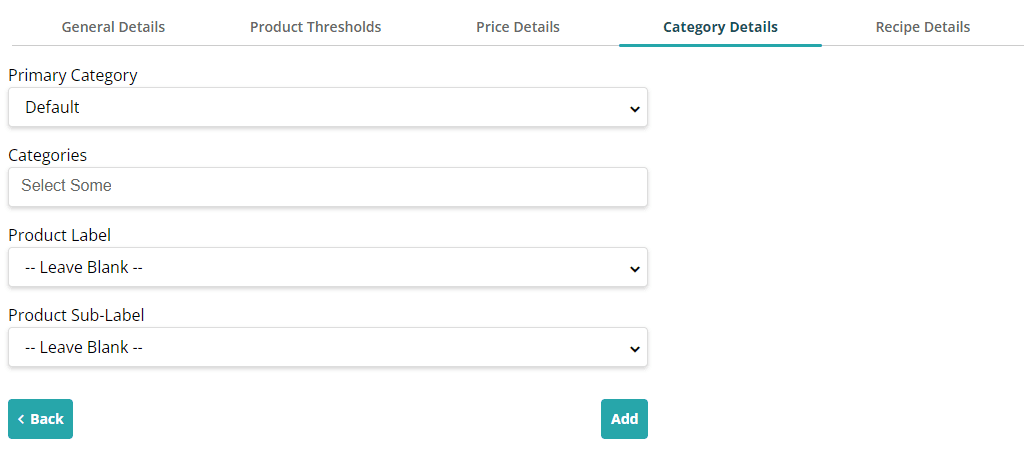
In the Category Details tab, set the Primary Category and any 'child' categories. You can also set Product Labels.
The optional Recipe Details tab allows you to create recipes for products, requiring predefined ingredients. Click 'Add Row' to specify the ingredient and quantity used.
Add the product by selecting 'Add'.
Note: If you have multiple products to import, you may find it useful to use our Product Template, which can import multiple at once.
Create Custom Counters
To create custom counters, you need at least Super User permissions.
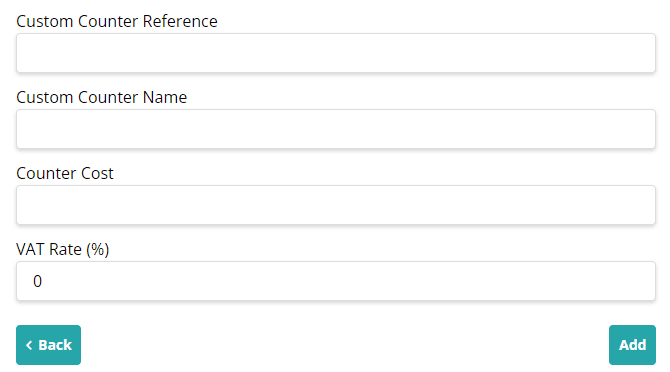
In Administration, under Products, click Custom Counters. Select 'Add Custom Counter' and enter the mandatory details: Custom Counter Reference (which can be up to 50 characters) and Custom Counter Name (which can be up to 250 characters).
Optionally, enter a Counter Cost and set the VAT Rate.
Add the Custom Counter by selecting 'Add'.
Create Groups
To create groups, you need at least Owner permission. In Administration, under Security, click Groups.
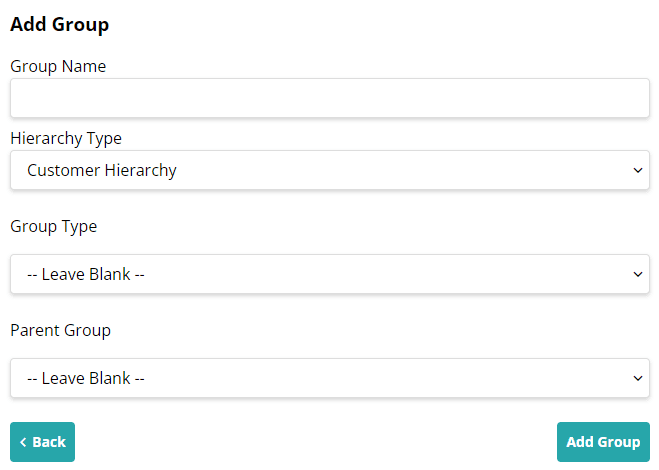
Select 'Add Group' and enter the Group Name. Choose one of three Hierarchy Types: Customer, Structural, or Territory. If any Group Types are set up, you can select one.
For a 'parent' group, leave Parent Group as '— Leave Blank —'. For a child group, select the parent group from the dropdown.
Add the group by selecting 'Add'.
Create Sites
To create sites, you need at least Super User permission. In Administration, under Vending, click Sites.
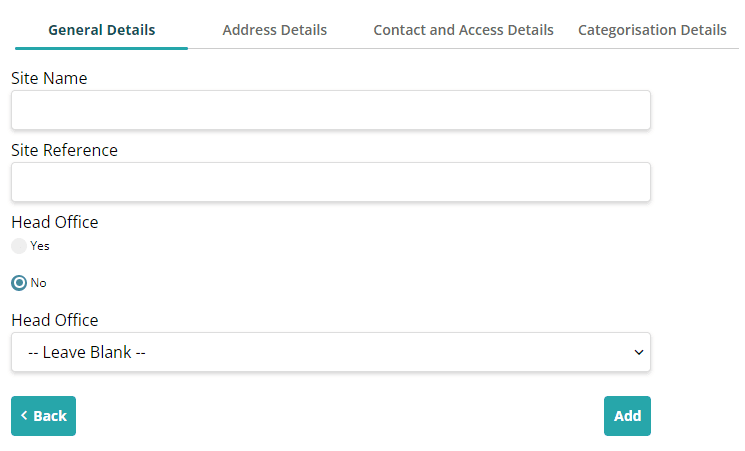
Select 'Add Site' and enter the Site Name and Site Reference in the General Details tab. If the site is a Head Office, select 'Yes'; otherwise, choose the associated head office from the dropdown.
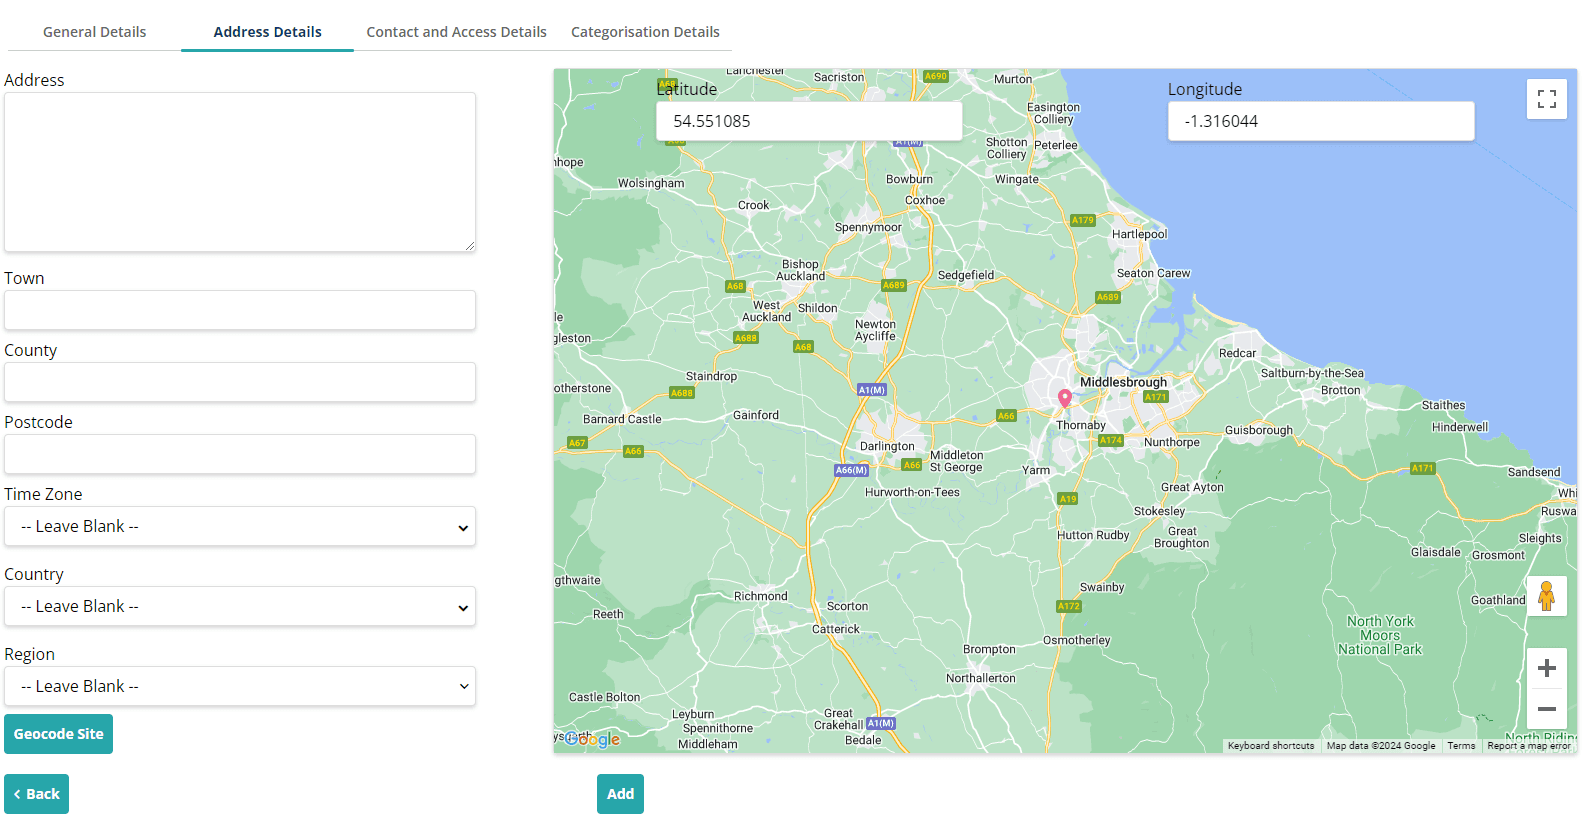
In the Address Details tab, enter the address (at minimum the Postcode).
With a planning license assigned, you can select a pre-defined Region.
Select 'Geocode Site' to update the site location on the map.
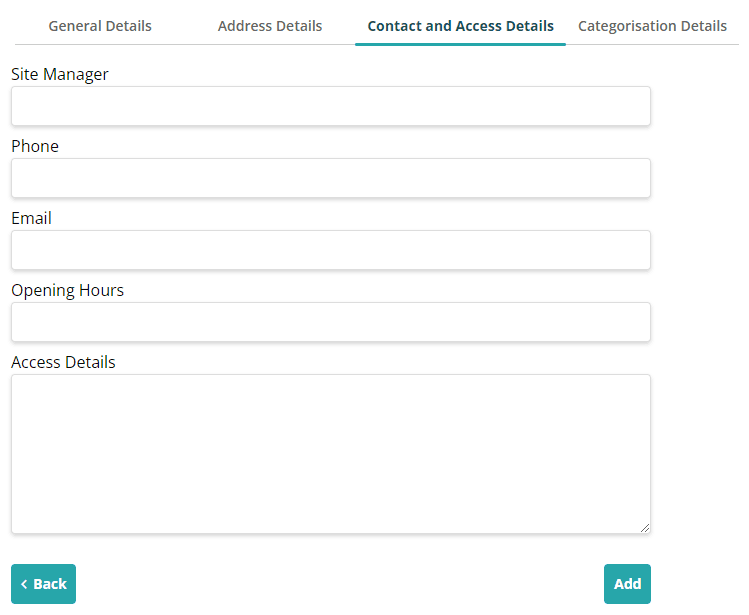
Use the Contact and Access Details tab to record the site manager's phone number, email, and the opening hours, and access details of the site, if there is anything specific required.
In the Categorisation Details tab, select the appropriate Site Type.
Add the site by selecting 'Add'.
Note: If you have multiple sites to import, you may find it useful to use our Site Template, which can import multiple at once.
Add the site by selecting 'Add'.
Note: If you have multiple sites to import, you may find it useful to use our Site Template, which can import multiple at once.
Create Planogram Templates
To create planogram templates, you need at least Super User permission.
In Administration, under Vending, click Planogram Template.
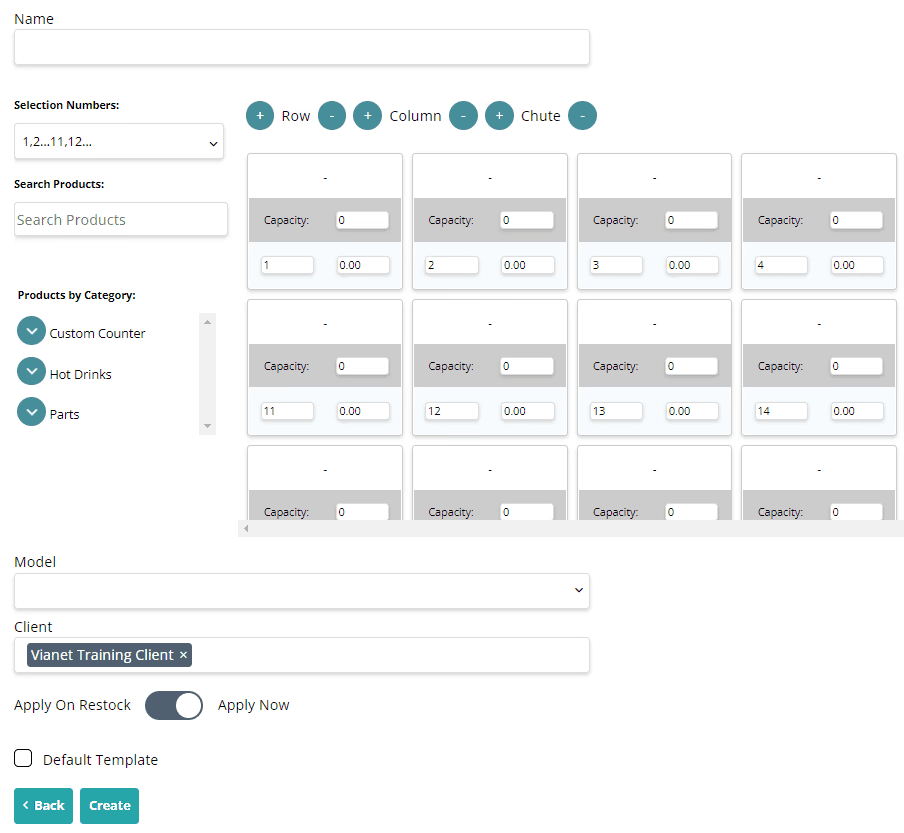
Select 'Add Planogram Template' and enter the Template Name.
To create planogram templates, you need at least Super User permission. In Administration, under Vending, click Planogram Template.
Select 'Add Planogram Template' and enter the Template Name.
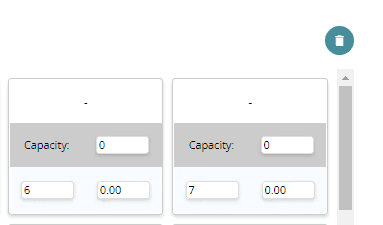
Amend the Selection Number format using the dropdown on the left - match these to the machine's selection IDs when using audits, the selection number is displayed in the bottom left of each product box.
Use the Row option to adjust the number of rows, the Column option for columns, and the Chute option to merge selections for larger items. To merge selections, select the left-hand box, then click the + icon next to Chute.
To add products and custom counters into the template, you can search the product/custom counter name, then click and drag it into any selection in the planogram. If there is an existing item within the product box, then the new item will replace this. Enter the capacity of the selection.
You can update the Retail Price, which defaults to the Product Retail Price in the Product List in Administration, displayed at the bottom right of the product box.
To remove products, drag them to the bin icon on the right.
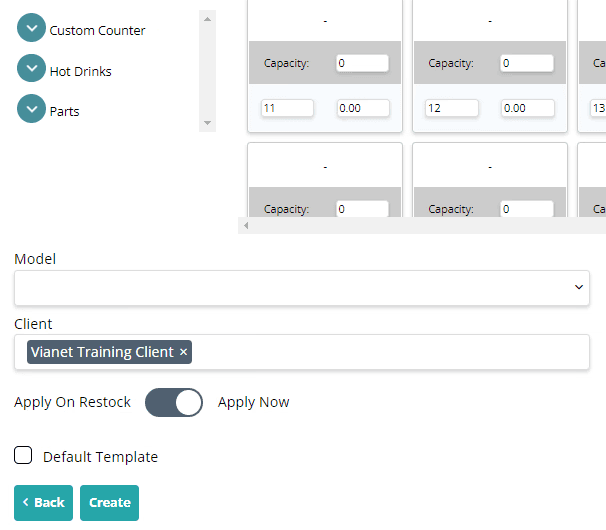
If the template is for a specific machine model, select it from the Model dropdown, with manufacturers in bold and models listed beneath these headers.
Select 'Default Template' if this template will be used for most machines, as this will default the planogram template option when creating machines.
Add the planogram template by selecting 'Create'.
Create Machines
To create machines, you need Super User permission. In Administration, under Vending, click Machines.
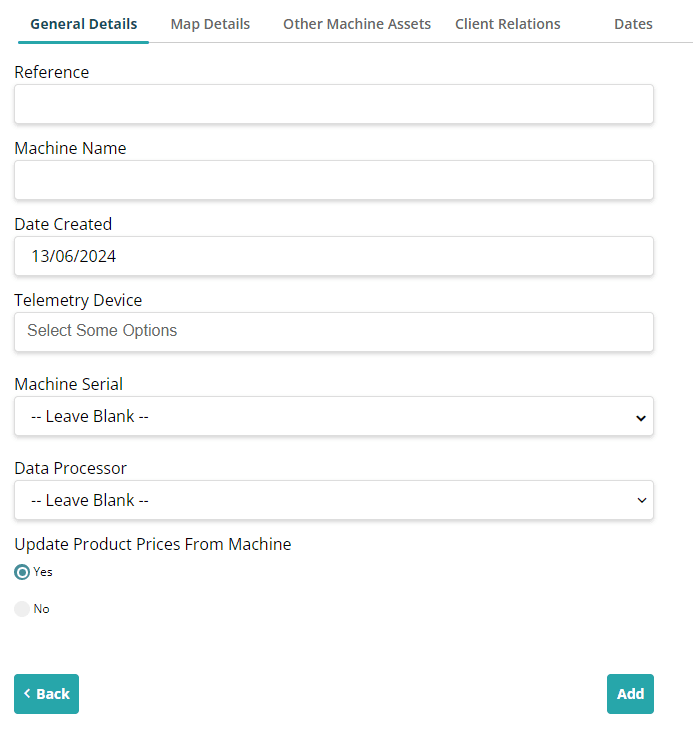
Select 'Add Machine' and enter a Reference Name, Machine Name, select a Telemetry Device, and select a Machine Serial under the General Details tab. Set "Update Product Prices From Machine" to “Yes” if audit prices are to update the planogram pricing.
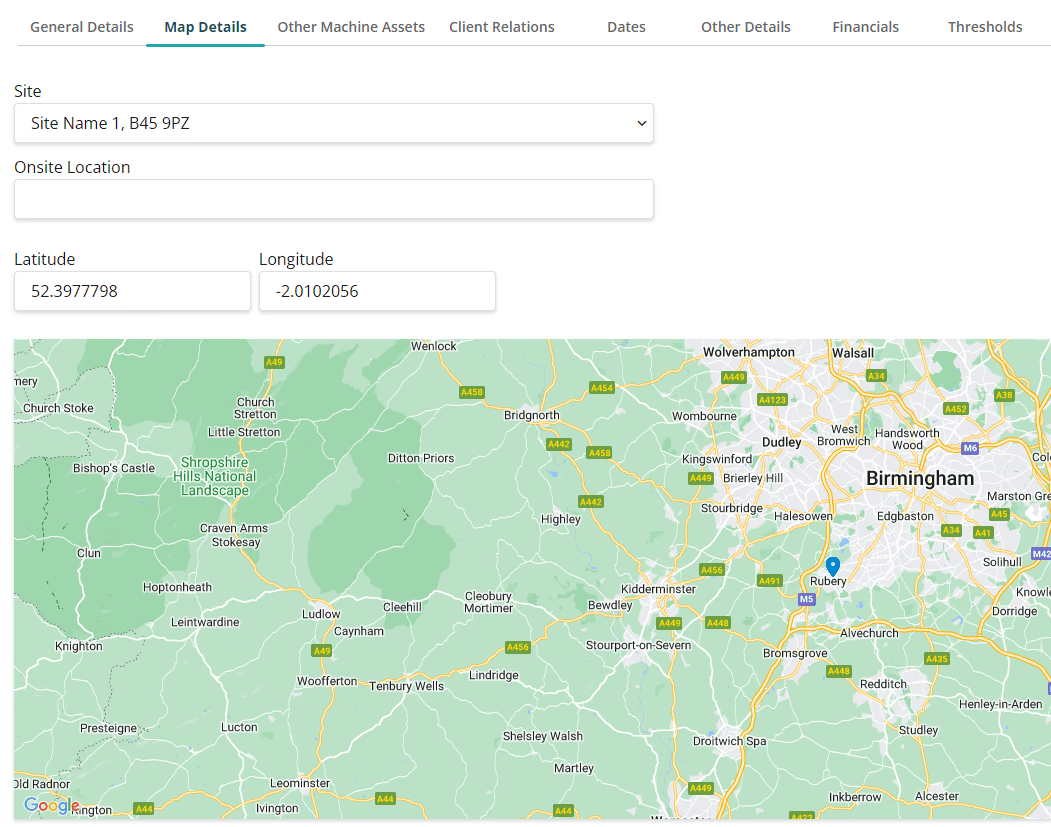
In Map Details, select the site and record an onsite location.
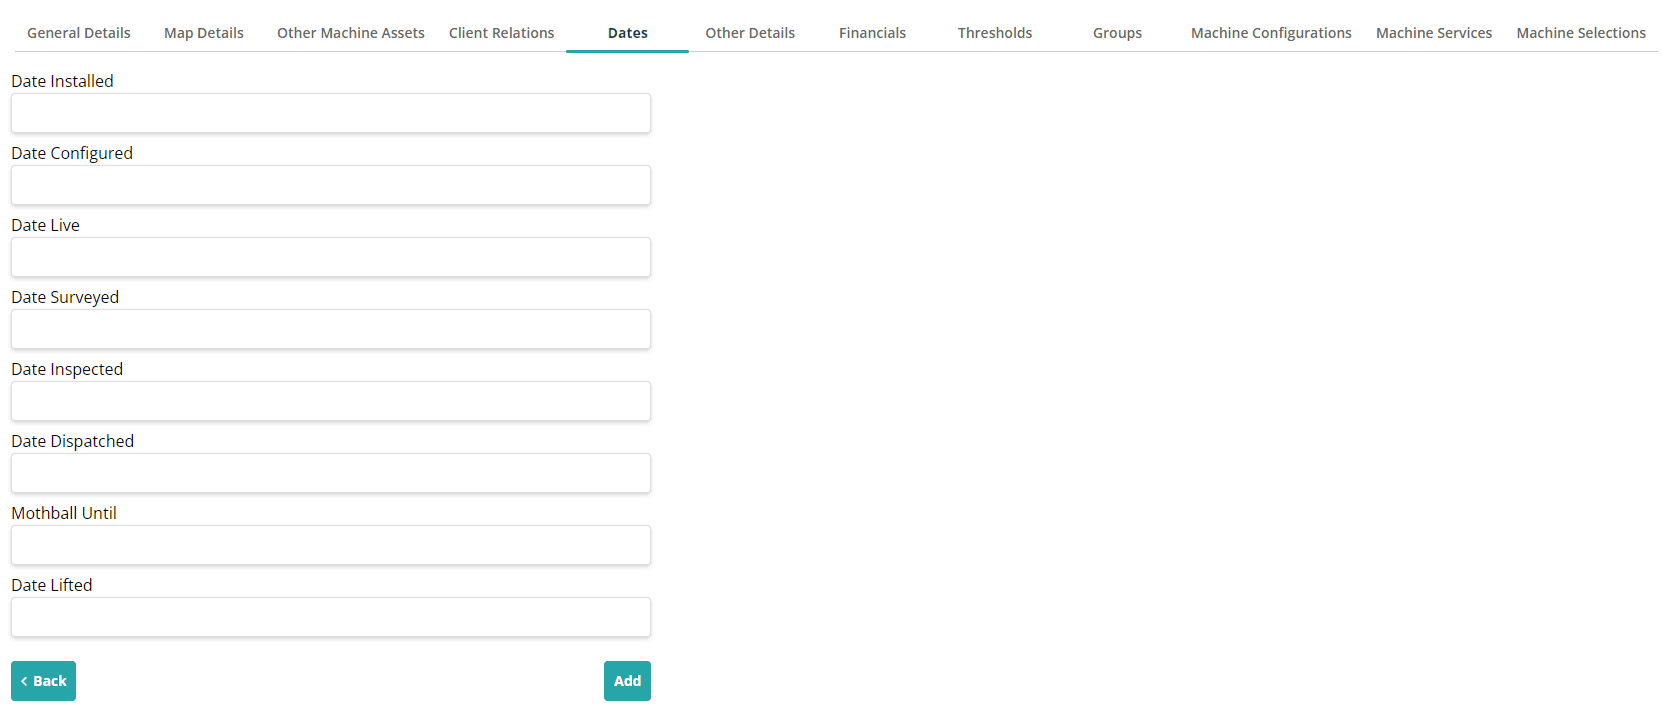
Enter the necessary dates, including the mandatory Date Live within the Dates tab.
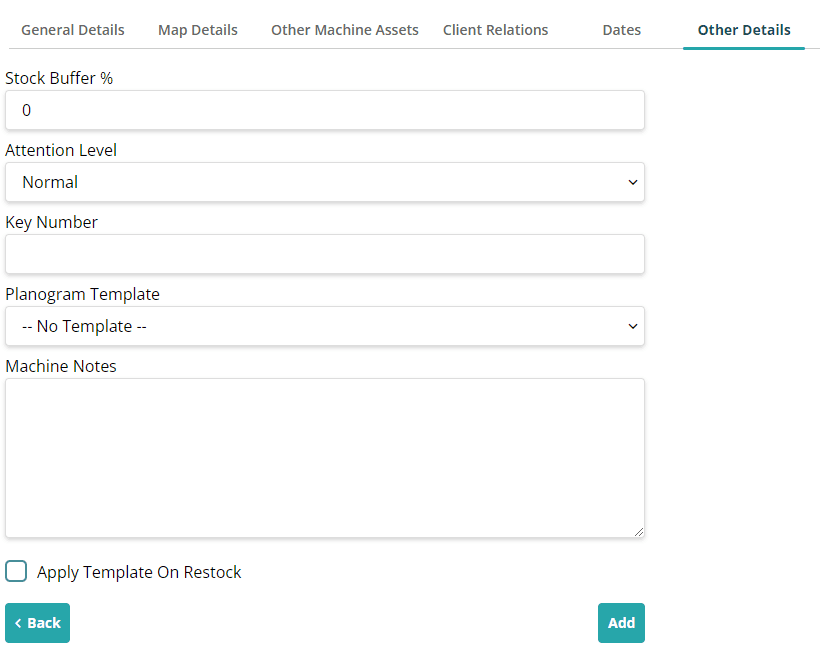
Record the key required in the Key Number field within the Other Details tab. Select an planogram template if available, and if you wish to assign a planogram to this machine.
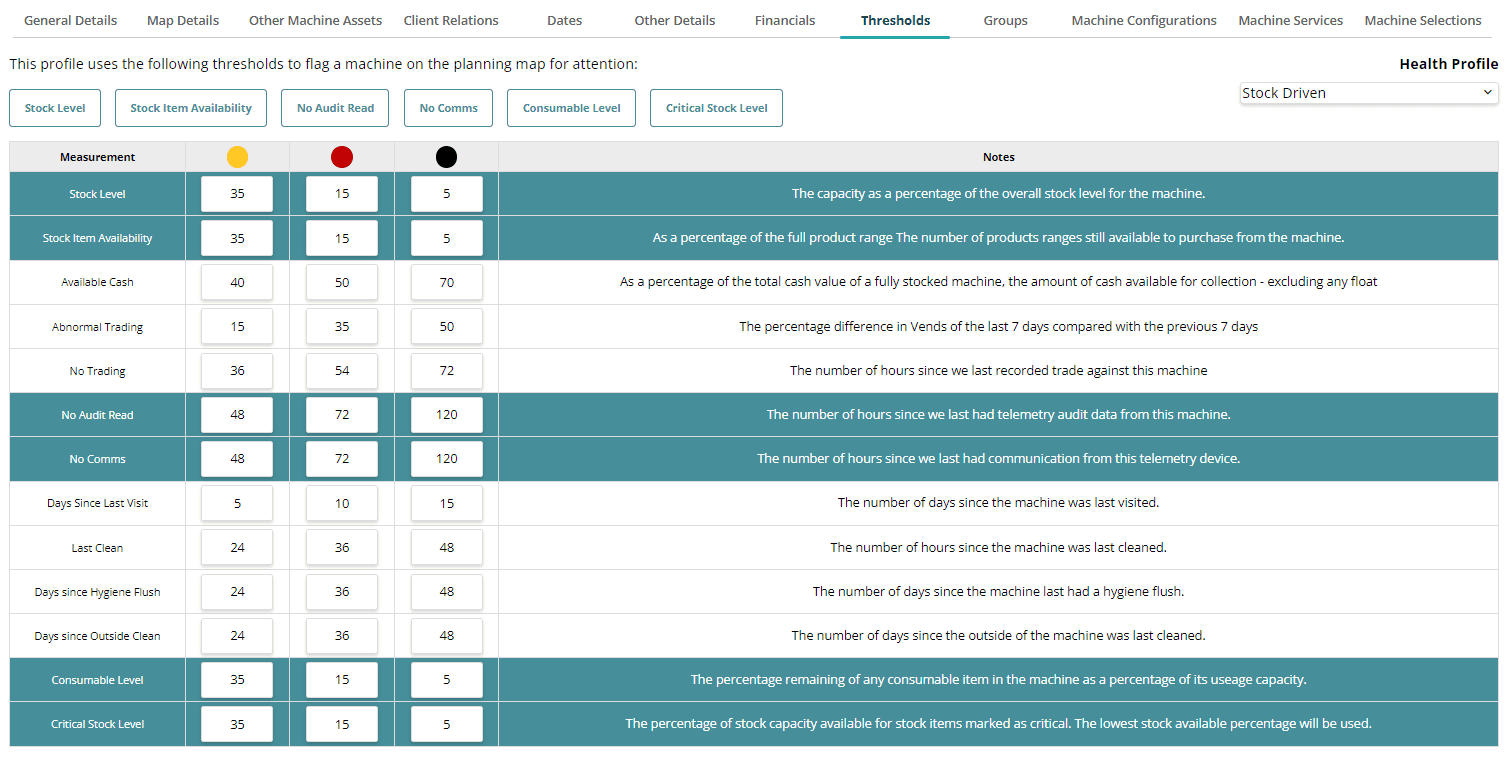
The Health Profile defaults to your organisation’s setting but can be changed within the Thresholds tab. Update threshold values if needed - it is important to note that 4 categories (Stock Level, Stock Item Availability, Consumable Level, Critical Stock Level) descend in hours, while 9 categories (Available Cash, Abnormal Trading, No Trading, Days Since Last Visit, Last Clean, Days since Hygiene Flush, Days since Outside Clean) ascend in hours.
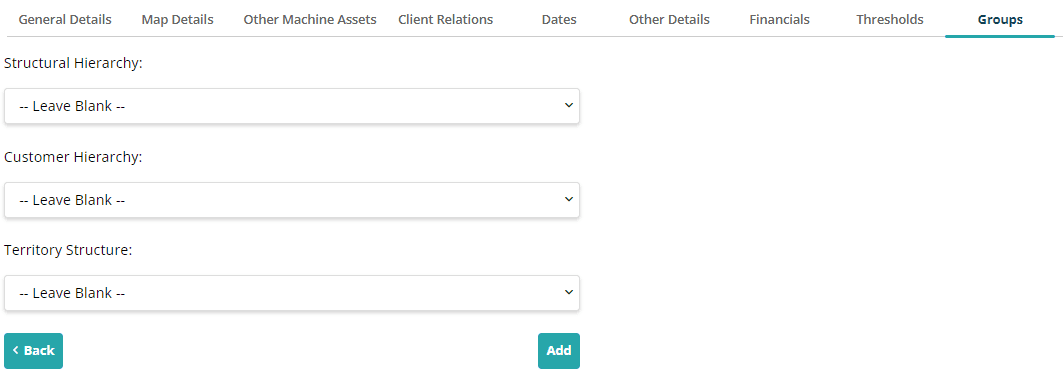
Within the Groups tab, you will assign a group to the machine.
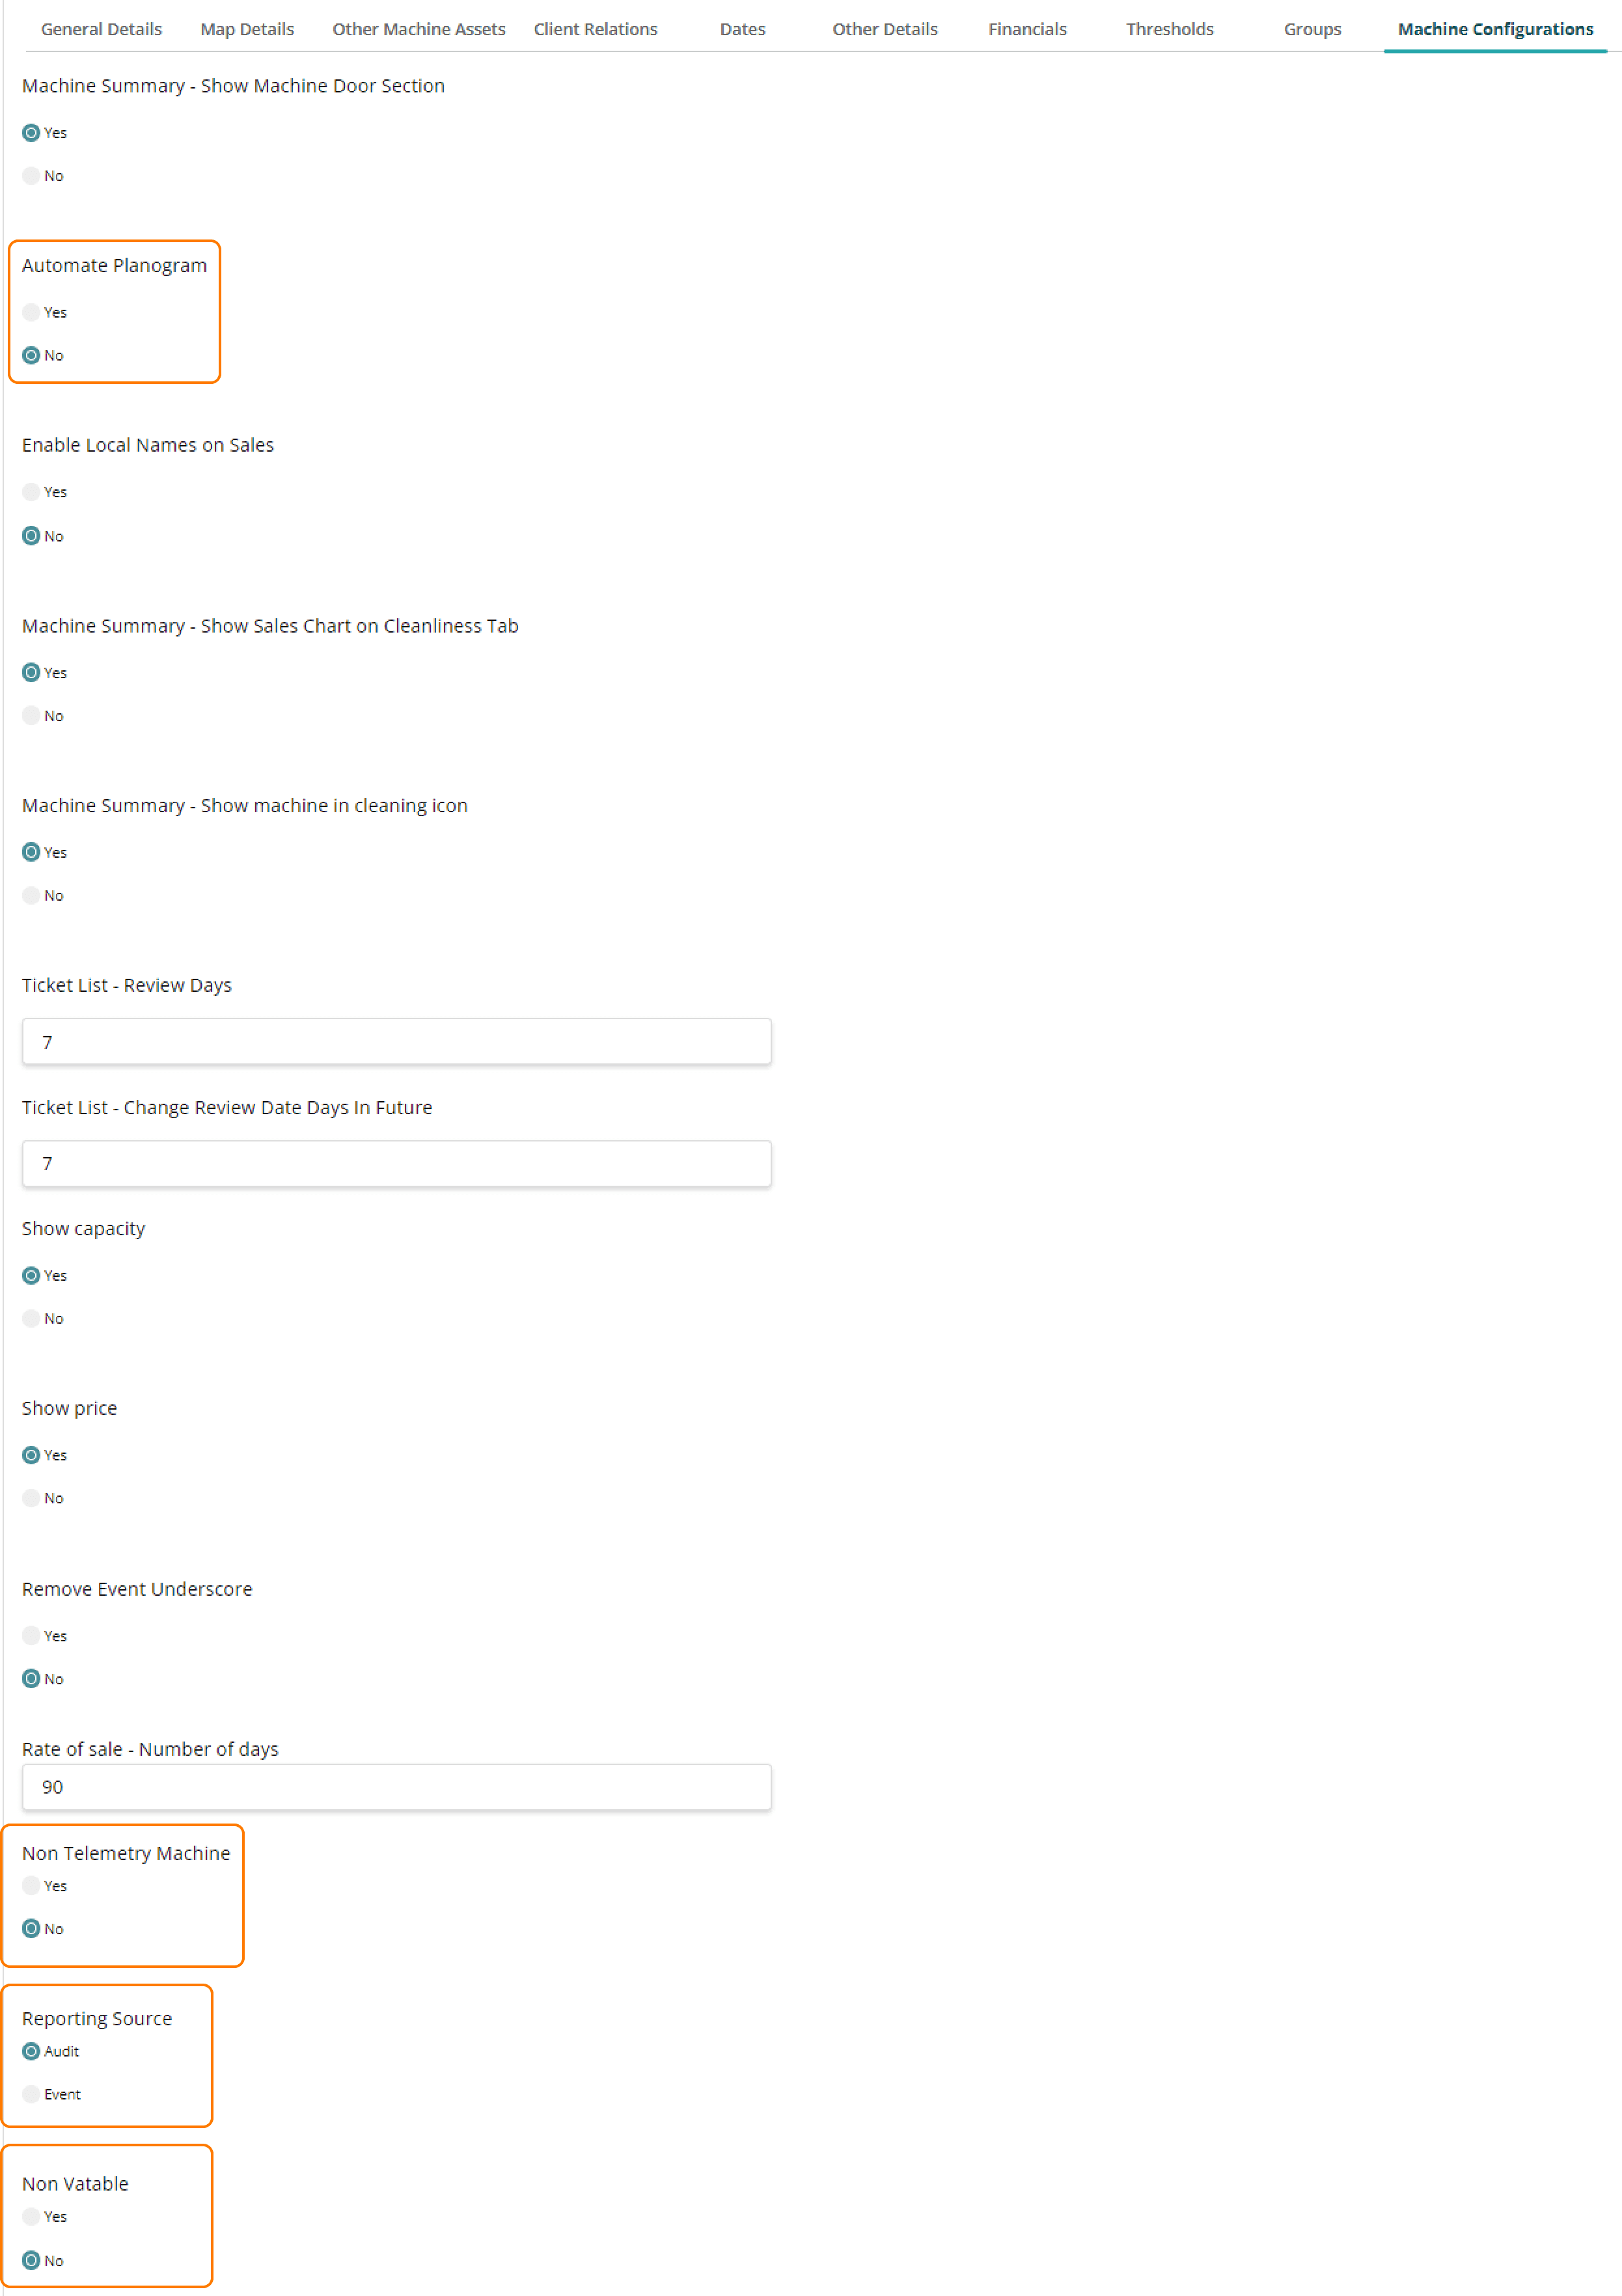
The Machine Configuration tab you can set ‘Automate Planogram’ to Yes if you have a hot drinks machine pre-programmed, this will be pulled from the audit.
If the machine lacks telemetry, mark ‘Non Telemetry Machine’ as ‘Yes’. You can set the Reporting Source to “Audit” for audit-based sales or to “Event” if no audit cable is connected. Mark the machine as ‘Non-VATable’ if the machine is non-vatable as well.
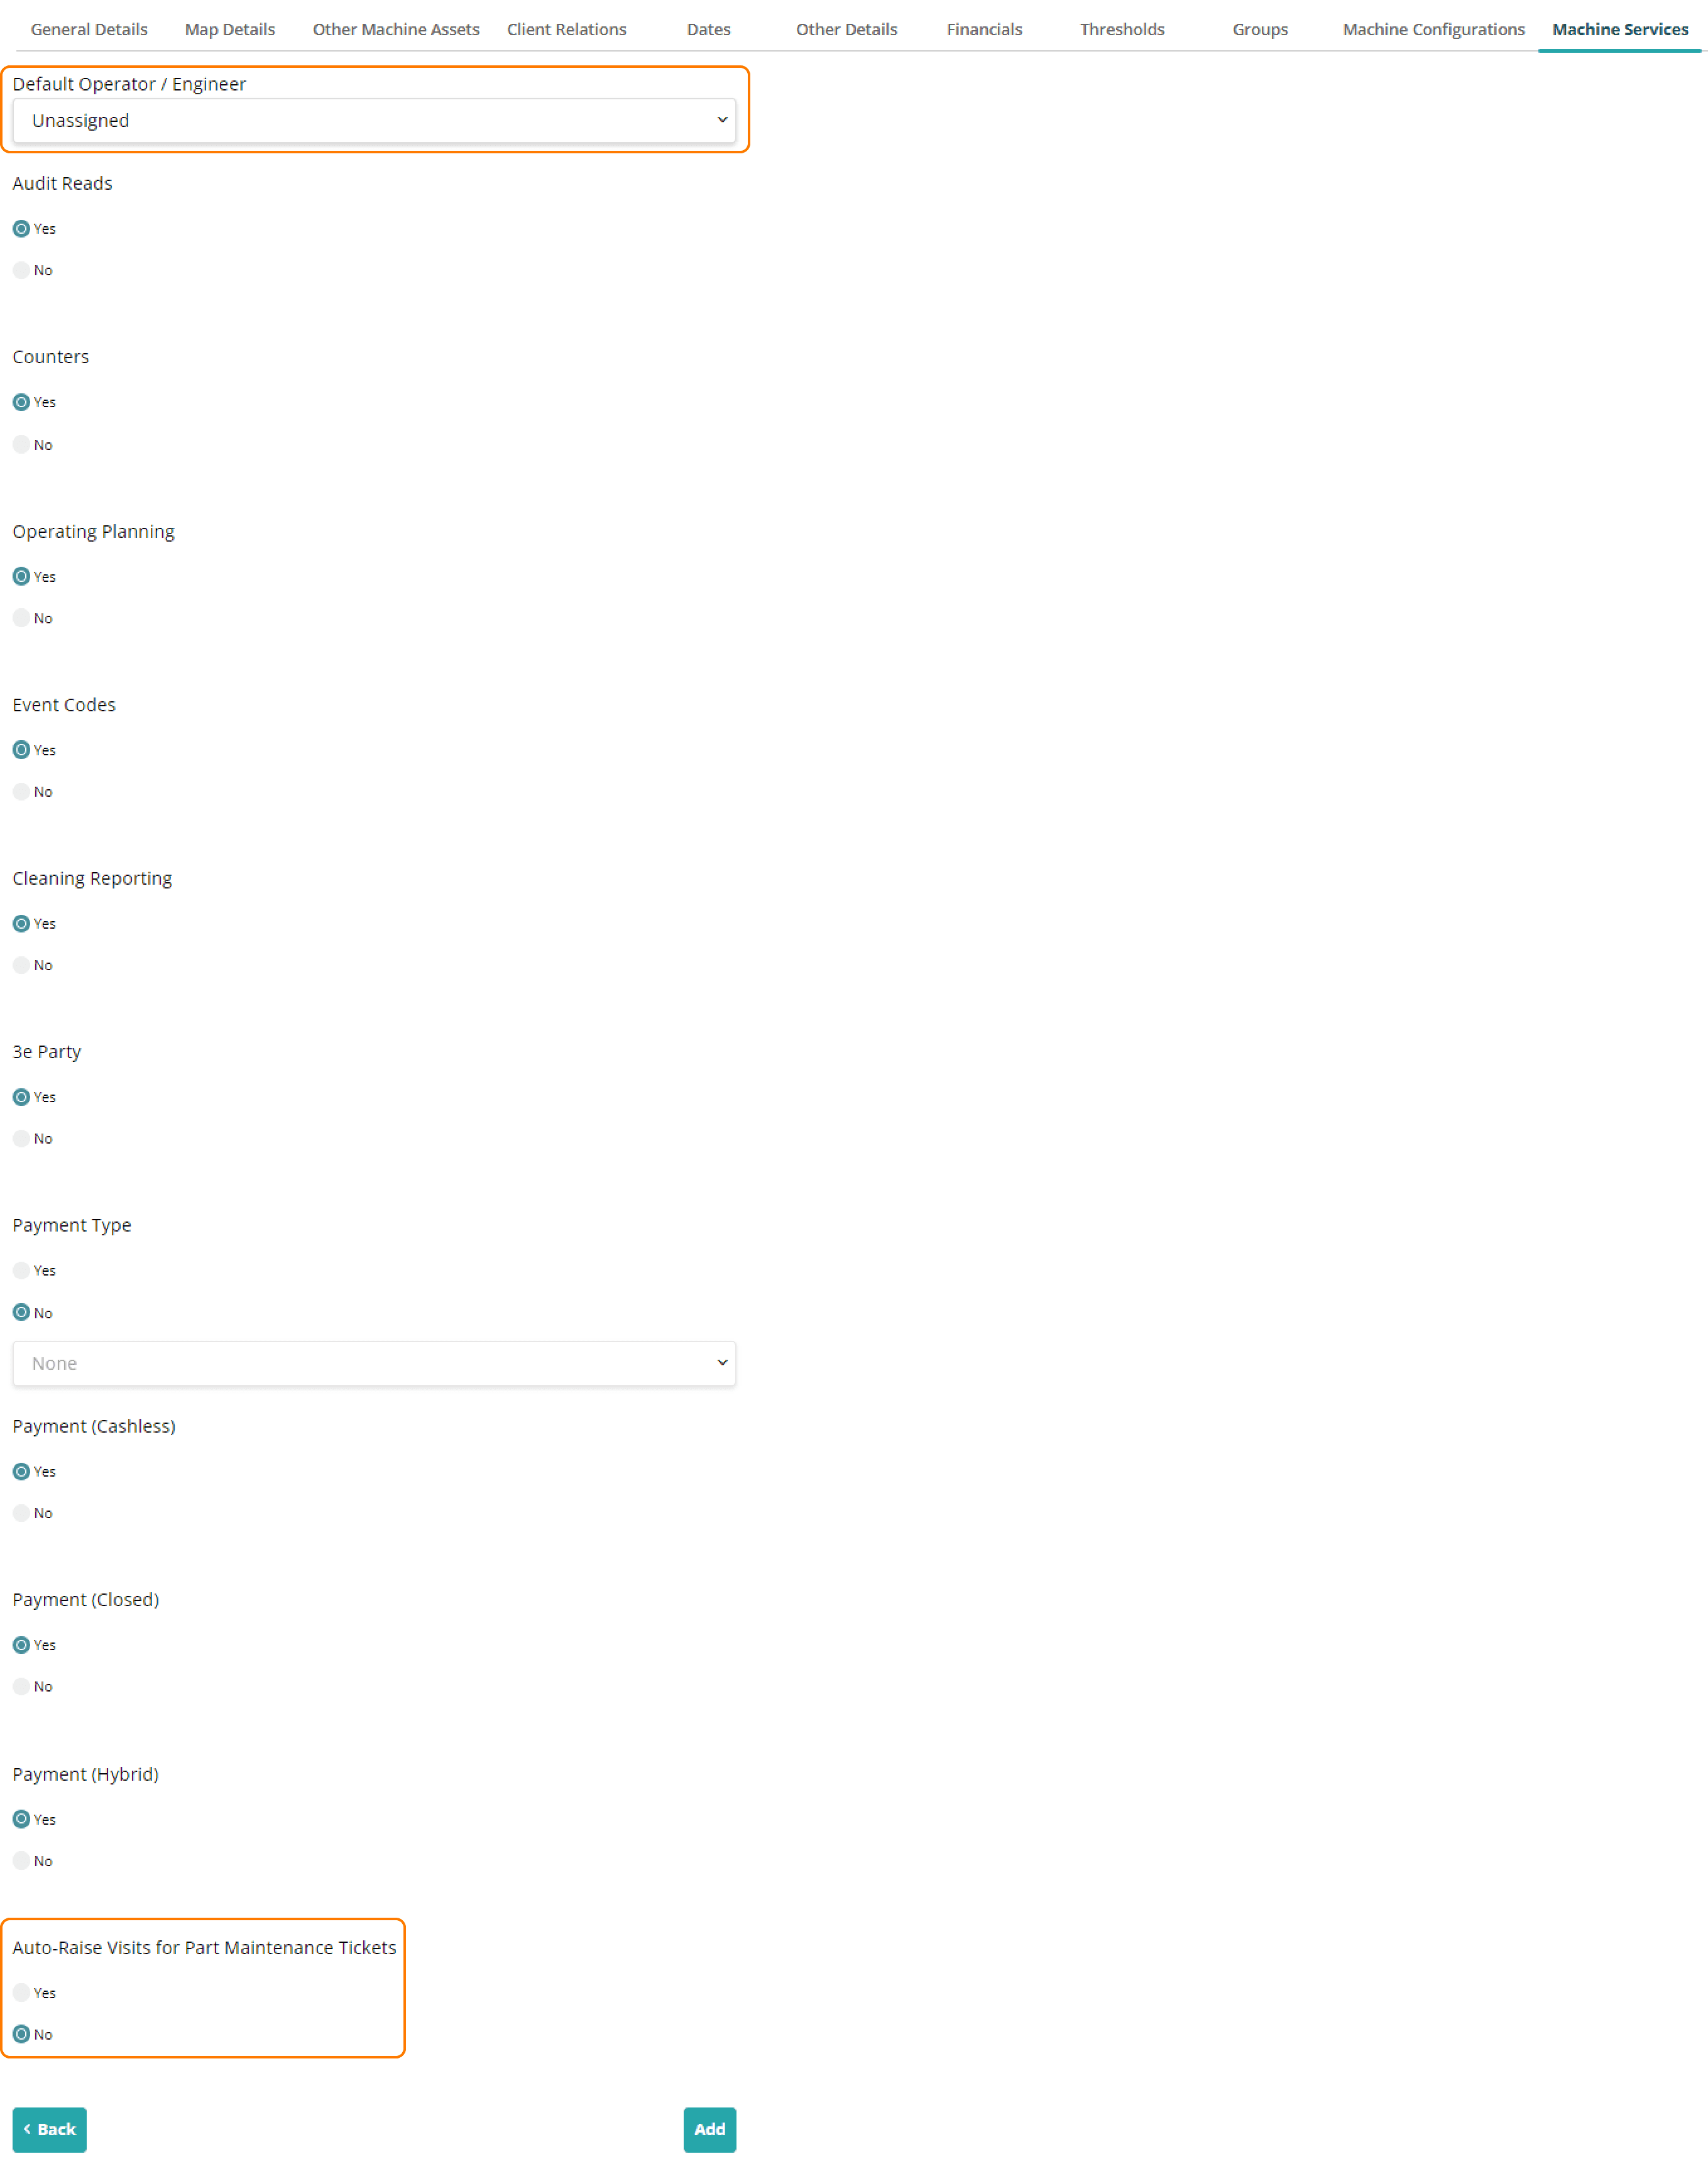
If you have a planning license, assign a Default Operator/Engineer within the Machine Services tab. For automatic Service Visits for Part Maintenance, set ‘Auto-Raise Visits for Part Maintenance Tickets’ to Yes.
Add the machine by selecting 'Add'.
Note: If you have multiple machines to import, you may find it useful to use our Machine Template, which can import multiple at once.
Create Users
To create machines, you need Super User permission. In Administration, under Security, click Users.
Select 'Add User'.
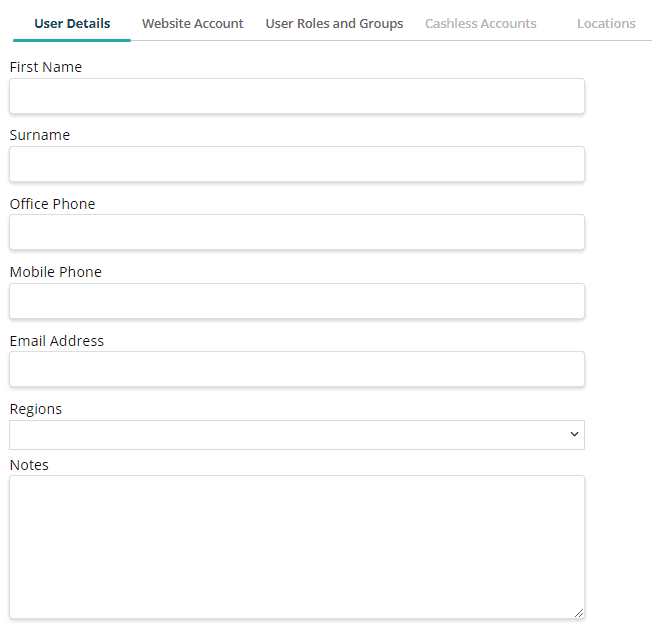
In the User Details tab, enter the mandatory First Name, Surname, and Email Address. Users with Planning or Finance licenses can view and assign the Region.
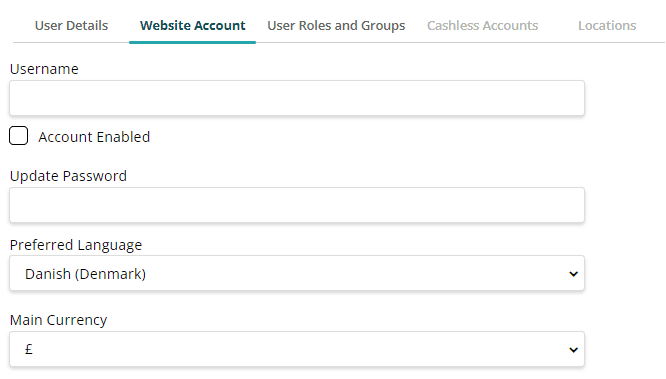
In the Website Account tab, enter a Username and enable the “Account Enabled” flag; otherwise, the account will be inactive, restricting app and prepayment card use. Enter a password for SmartVend or the SmartVend app access.
Set the Preferred Language and the Main Currency of the user you are creating.
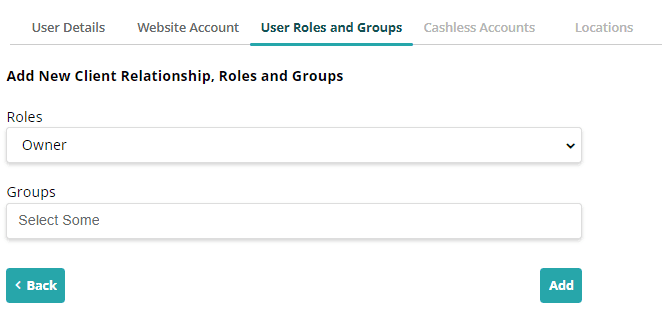
In the User Roles and Groups tab, users can create others at the same level or below (e.g., a Super User cannot create an Owner). Users without access to a group cannot assign it. Not assigning a group means the user account won't appear in the User List and will require an Owner or Super User to assign the correct group.
With all mandatory fields completed, select 'Add' to create the user and share the login details if needed.
To assign a license, search the user's name and select the desired license. If a license is greyed out, contact your account manager for additional licenses or reassign an existing license within your organisation.

