Create Stock Transfer
To complete a stock transfer, follow these steps:
1. Tap the menu icon in the top left of the screen
2. Select ‘Stock Transfer’ from the menu
3. Use the toggle icon to switch between Products and Parts views

To start a stock transfer, you will need to select the source location (From Location) and the destination location (To Location), searching can be done through the Name, Reference or Type.
Once selected, the stock transfer screen will be loaded.
Each stock transfer loads with a prepopulated reference. To update this reference for your specific stock transfer, select the Reference link.
→
You can amend the reference to reflect your stock transfer reference. Select Save to update the reference.
If a product or part is not present at the 'To' Location during a stock transfer:
Notification Bar:
A yellow notification bar will appear next to each product or part that is not currently on the 'To' Location.
Details of Notification:
The notification will typically indicate that the product or part does not exist on the 'To' Location
You can review these notifications to ensure that all items are correctly accounted for in the transfer.
Adding Transfer Values for Products and Parts
Selecting the product or part name, will allow you to enter transfer quantities.

At the top of the screen, you can view:
Number of Products or Parts:
Displays the total number of items available at the 'From' Location.
Location Layout Order:
Shows the layout order of the selected item, helping you understand its position within the location.
For each product or part in the stock transfer, you can view:
Product/Part Name:
The name of the product or part being transferred.
Case Size:
Indicates the number of units per case.
Expected Cases and Singles:
Expected Cases: The number of cases anticipated in the ‘From’ Location.
Expected Singles: The number of individual units anticipated in the ‘From’ Location.
These values reflect the current stock levels in the 'From' Location and help ensure accurate stock transfer.


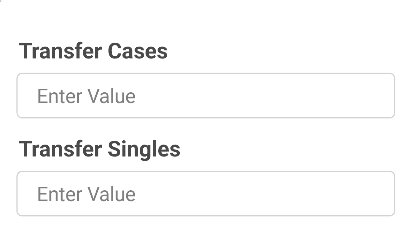
To transfer a product or part, enter Transfer Quantities
Cases: Specify the number of cases you want to transfer
Singles: Specify the number of individual units you want to transfer
These quantities will be moved from the ‘From’ Location to the ‘To’ Location. Ensure you only transfer quantities that are available in the ‘From’ Location.
To move on to the next product during a stock transfer, simply select the `>` icon. This will navigate you to the next product in the list, allowing you to continue entering or reviewing stock transfer data.

Quick Tip
Once you have entered all the products or parts you wish to include in the stock transfer, you can use the Zeroise option to set all remaining items not included in the transfer to a quantity of 0.
Here’s how to do it:
Complete Entries: Ensure you’ve entered the transfer quantities for all relevant products or parts.
Select Zeroise: Click the Zeroise button. This action will automatically set the transfer quantities of any remaining products or parts (not already included in the transfer) to 0.
Submit Stock Transfer
Once you've entered all necessary product values for the stock transfer, select ‘Submit’. This action will submit your stock transfer data to the web and return you to the search location screen.

Quick Tip
Depending on your organisation’s setup, your stock transfers might be submitted as ‘Pending’. This means that the stock transfers will require review and approval from someone in the back office before the information is officially updated.


