
Create Stocktake
To complete a stocktake, follow these steps:
1. Tap the menu icon in the top left of the screen
2. Select ‘Stocktake’ from the menu
3. Use the toggle icon to switch between Products and Parts views

Before starting a stocktake:
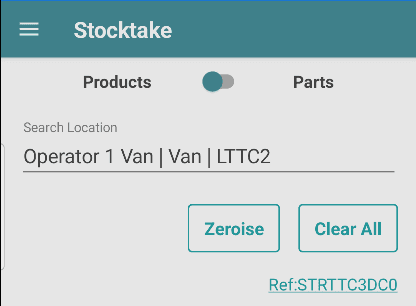
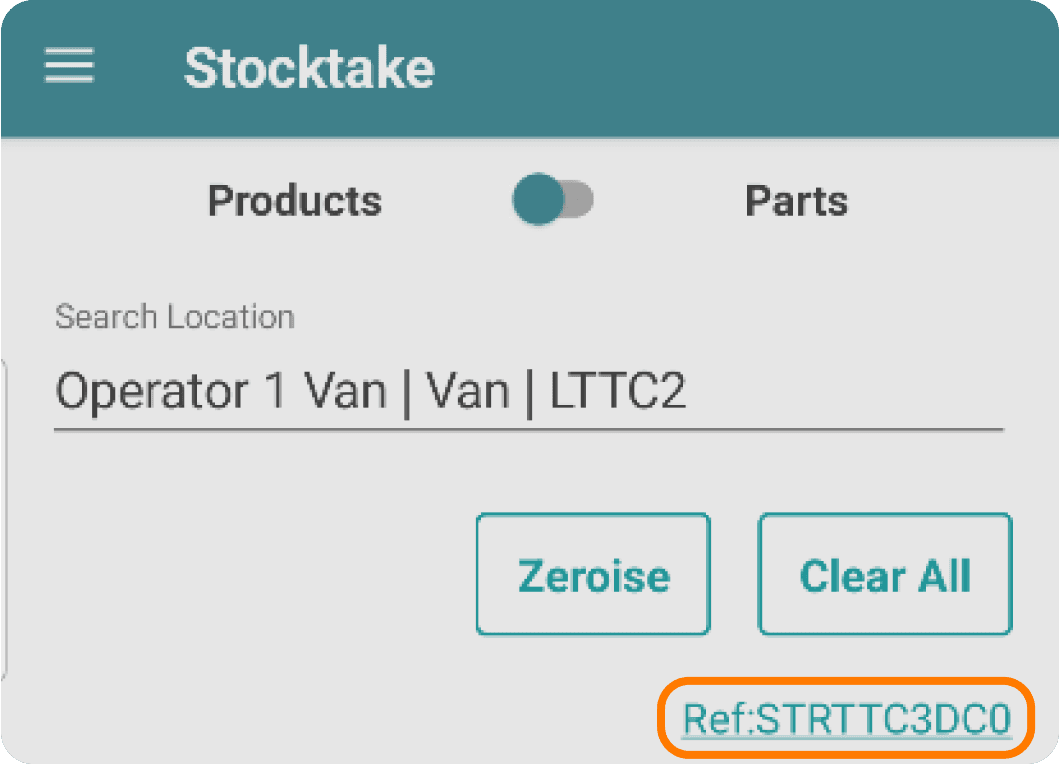
Search for a location using the name, reference, or type
Select the location to load the stocktake
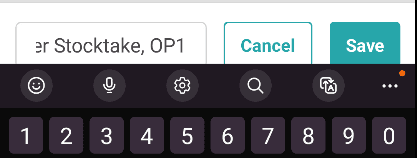
Each stocktake loads with a prepopulated reference. To update this reference for your specific stocktake, select the Reference link.
→

You can amend the reference to match your stocktake. Select Save to update it.
Training Note
To start a stocktake with no pre-entered values, select “Clear All” to remove any existing data. Then, enter the stock quantities for each product you wish to count.
If you want to set all other products' stock levels to zero, you can select “Zeroise” to mark the remaining products as having a stock level of 0.
Counting each Product
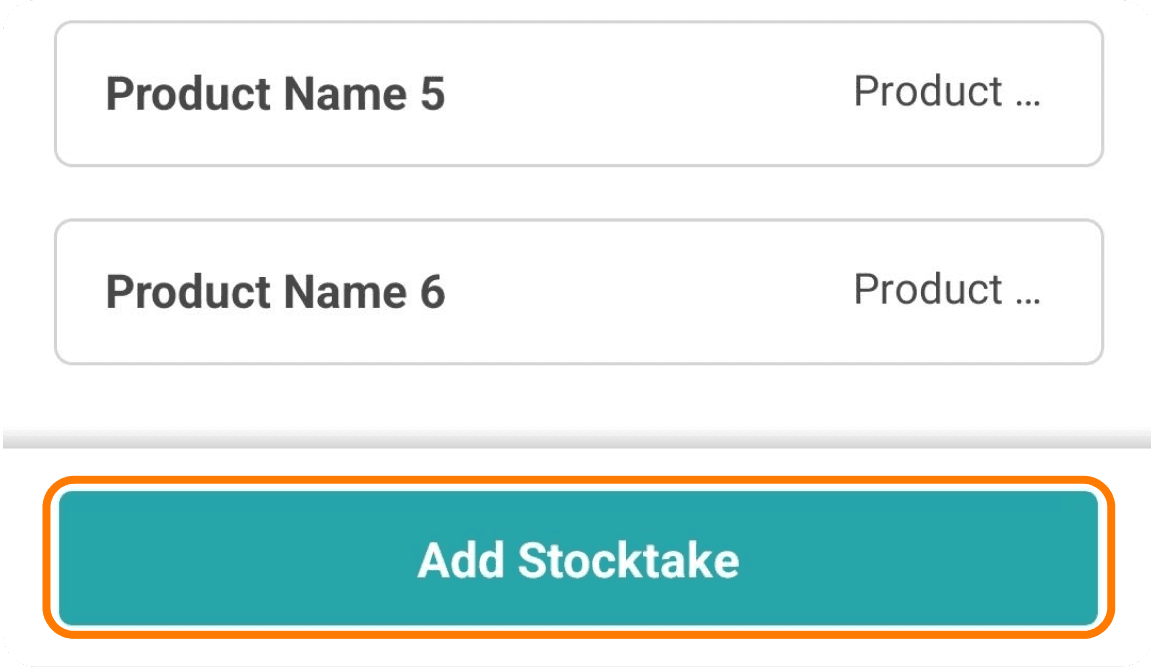
All products within the location will be listed. Select each product name to view its stocktake details.
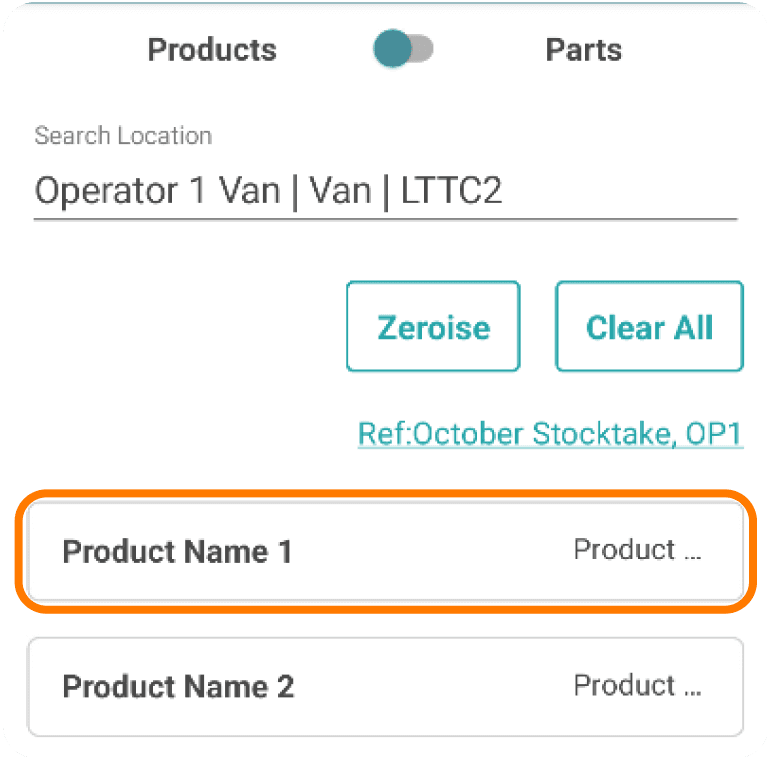
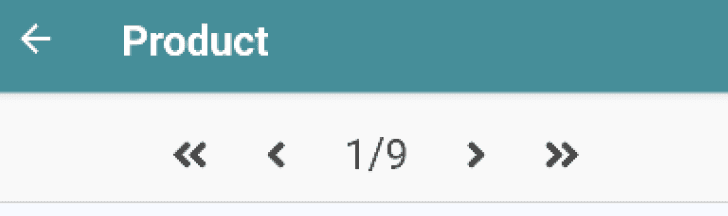
At the top of the screen, you can see the total number of products in the location and the layout order of the selected product.
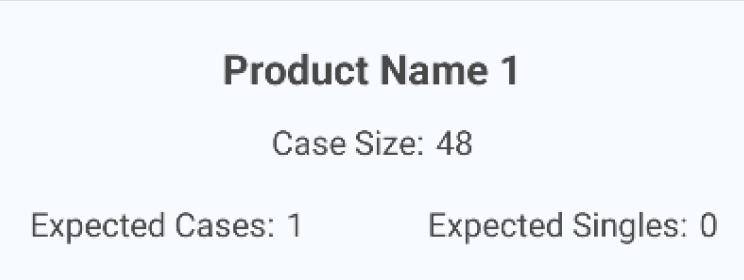
For each product during a stocktake, you can view:
Product Name: The name of the product.
Case Size: The size of each case for the product.
Expected Cases: The quantity of cases the system anticipates you have in your location.
Expected Singles: The quantity of single items the system anticipates you have in your location.
These figures represent the system's expectations before you start entering your actual stocktake values.
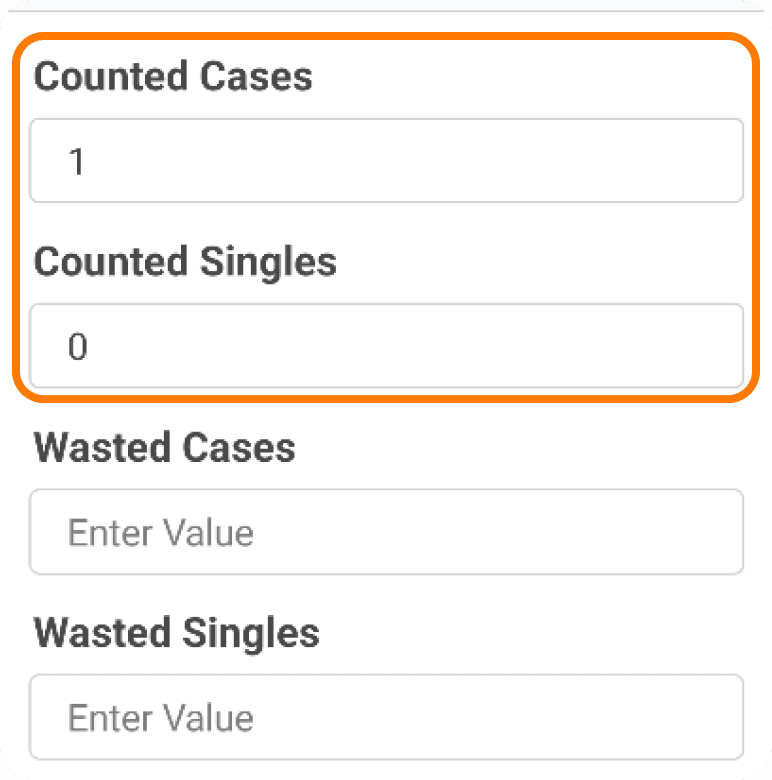
As you complete the stocktake for each product, you can enter:
Cases Counted: This defaults to the Expected Cases value but can be adjusted to reflect the actual number of cases counted.
Singles Counted: This defaults to the Expected Singles value but can be adjusted to reflect the actual number of singles counted.
You have the option to overwrite these defaults or clear the values at the start of the stocktake if you prefer to start with zero values.
When recording wasted products during a stocktake:
Enter Wasted Cases and Singles: Specify the number of cases and singles that have been wasted.
Select Wastage Reason: You will be required to choose a reason for the wastage from a predefined list. This reason helps document why the products were wasted.
This ensures that all wasted inventory is properly accounted for.
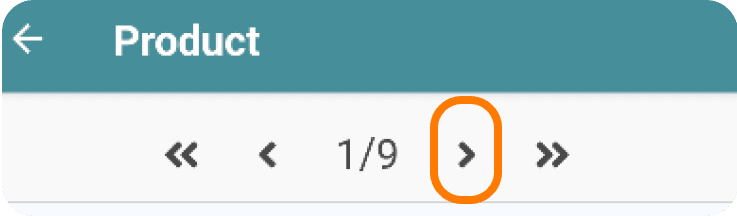
To move on to the next product during a stocktake, simply select the `>` icon. This will navigate you to the next product in the list, allowing you to continue entering or reviewing stocktake data.
Submit Stocktake
Once you've entered all necessary product values for the stocktake, select ‘Add Stocktake’. This action will submit your stocktake data to the web and return you to the search location screen.
Quick Tip
Depending on your organisation’s setup, your stocktakes might be submitted as ‘Pending’. This means that the stocktake will require review and approval from someone in the back office before the information is officially updated.
