Quick Tip
Mandatory fields are indicated by a bracket after the header name.
If a mandatory section is incomplete, it will turn red to signal an issue, and you won’t be able to submit the visit until it's completed.
Completing the Cash Section
In the Stock Visit, you’ll find the Cash section
Enter the Refunded field to confirm any refunds given back to the site
Enter the Float to set the level of cash remaining in the coin mech after completing the cash collect
If you collect cash from a machine, enter or scan the Cash Bag number that matches the collection bag used

How to Scan a Cash Bag
To scan a cash bag, it must have a printed barcode.
Select the “Scan Barcode” button to open your phone's camera. Align the barcode within the frame on the screen. Once the scan is successful, the camera will close, and the barcode number will populate the Cash Bag field.


Quick Tip
The first time you select “Scan Barcode,” the app will request permission to take pictures and record video. Allowing this permission enables barcode scanning and photo uploads for visits.
If you don't grant the permission, you won't be able to scan barcodes, or take photos.
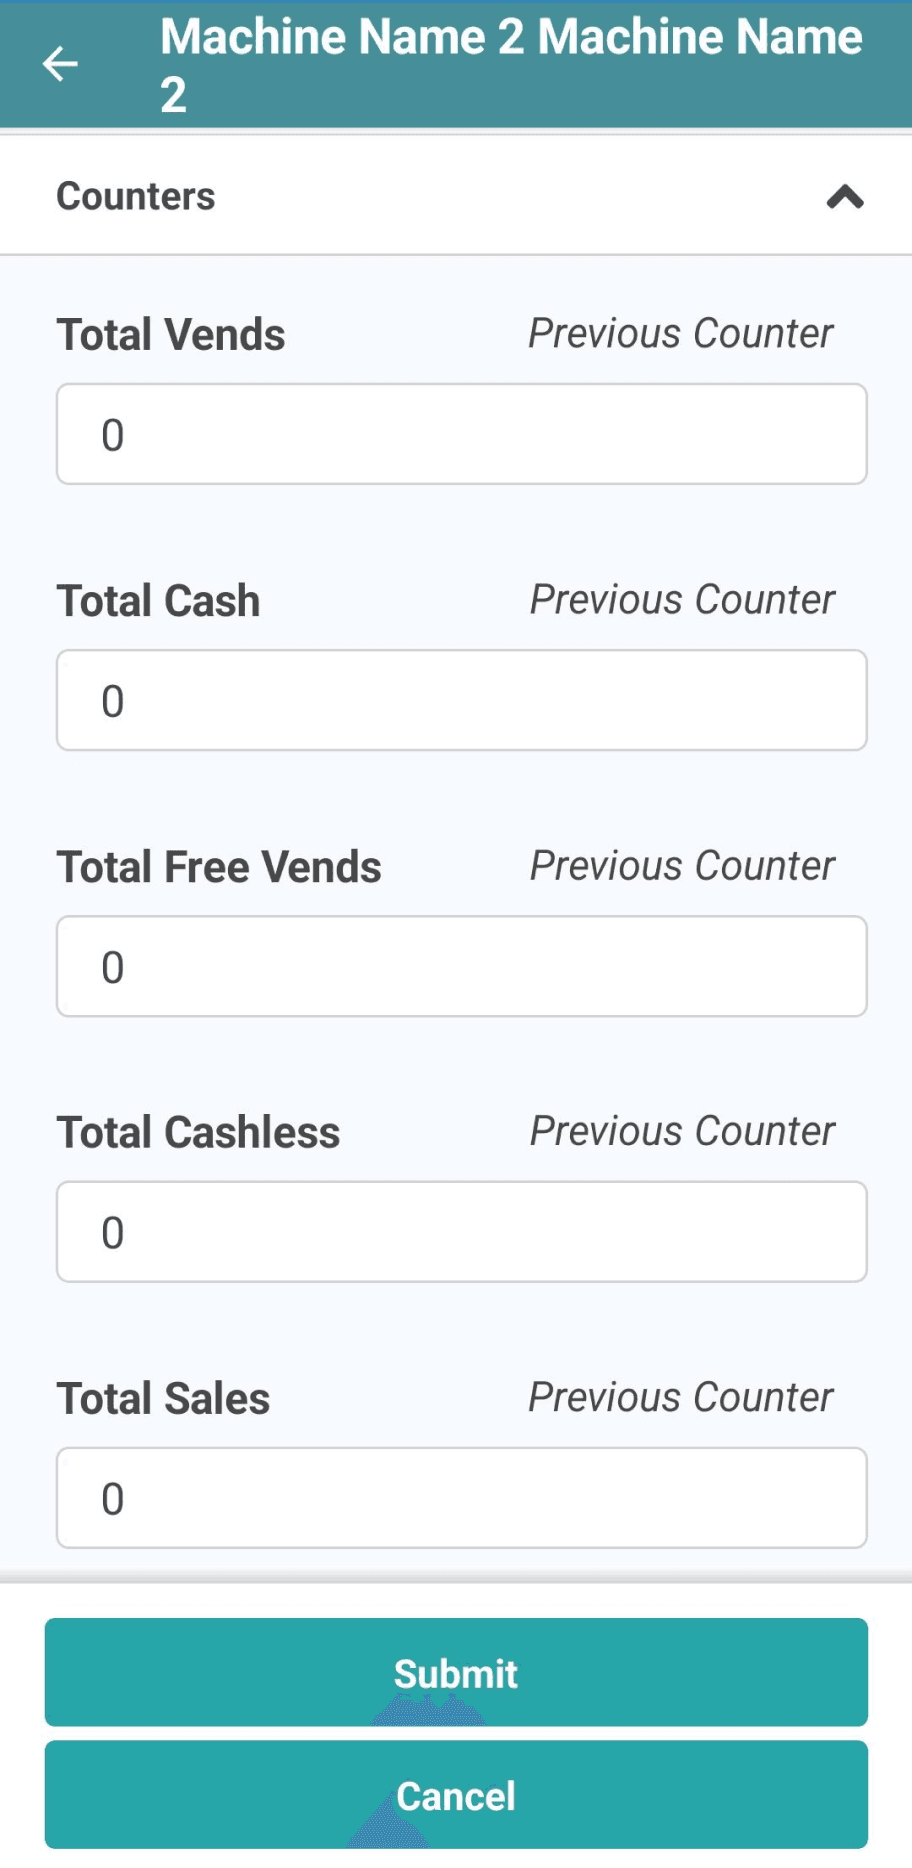
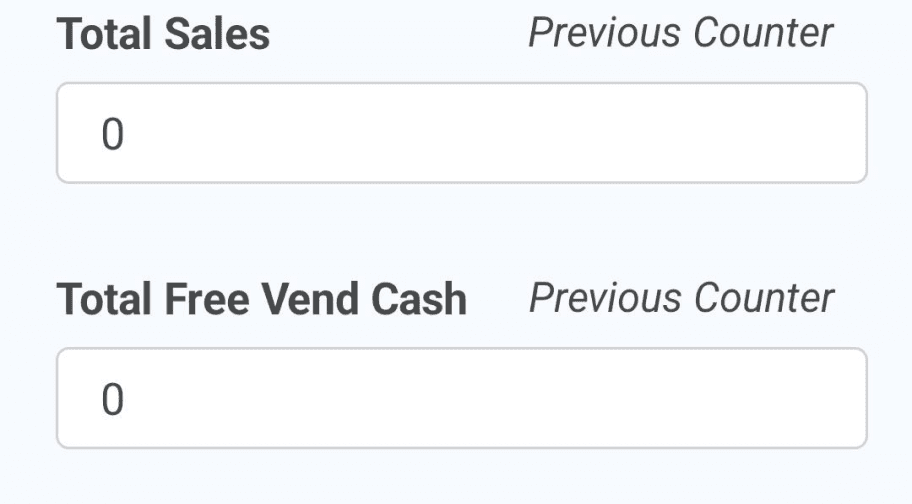
Completing the Counters Section
Each counter has a ‘Previous’ value, referring to the last recorded value for the machine. If no Previous Counter value is shown, it’s either the first visit or the value was never entered before.
Enter the current reading from the machine in the relevant counter field. If no value has been entered, it will default to the Previous Counter value.
For telemetry machines, you can leave these fields blank unless marked as mandatory, as counters will use the latest audit information from the machine upon submission.
Completing the Custom Counters Section
Each custom counter in the machine’s planogram shows a ‘Previous’ value from the last stock visit sheet. If no Previous Counter value is displayed, it’s either the first visit or the value was never recorded before.
Enter the current reading from the machine in the relevant counter field.
If the counters are marked as mandatory, you must enter a value for each field, even if it’s the same as the previous counter value.

Completing the Products Section
The products listed are from each machine’s planogram. For each product, you need to fill in four sections: Loaded, Returned, Wasted, and Counted.
Loaded: Number of singles added to the machine.
Returned: Number of singles removed from the machine and returned to your default location.
Wasted: Number of singles removed from the machine but not returned to your default location.
Counted: Defaults to the product’s Capacity in the planogram, determining the stock level when the visit sheet is submitted.
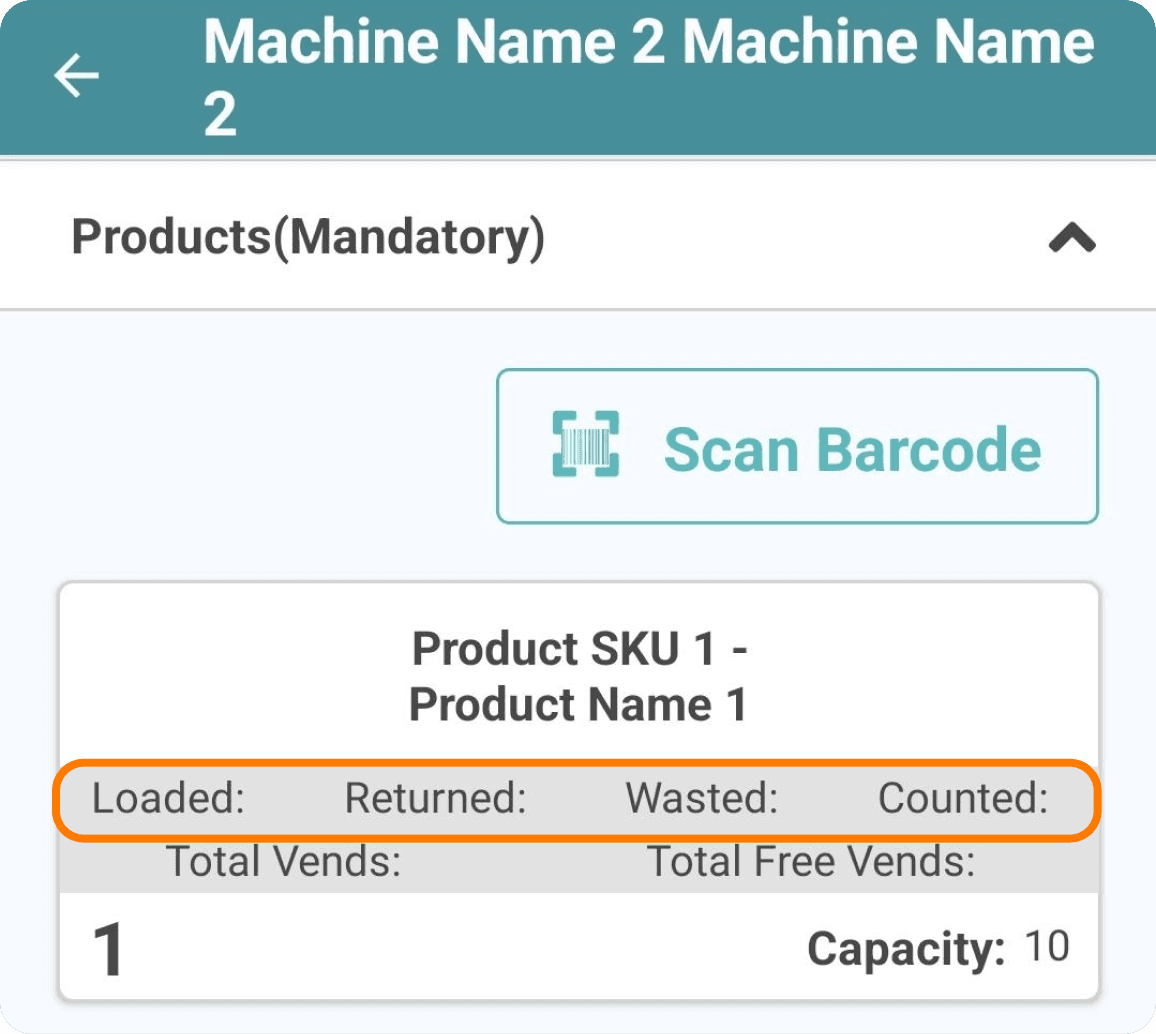
To record product actions, select the product name. This will take you to a screen where you can enter the actions performed for each selection number.
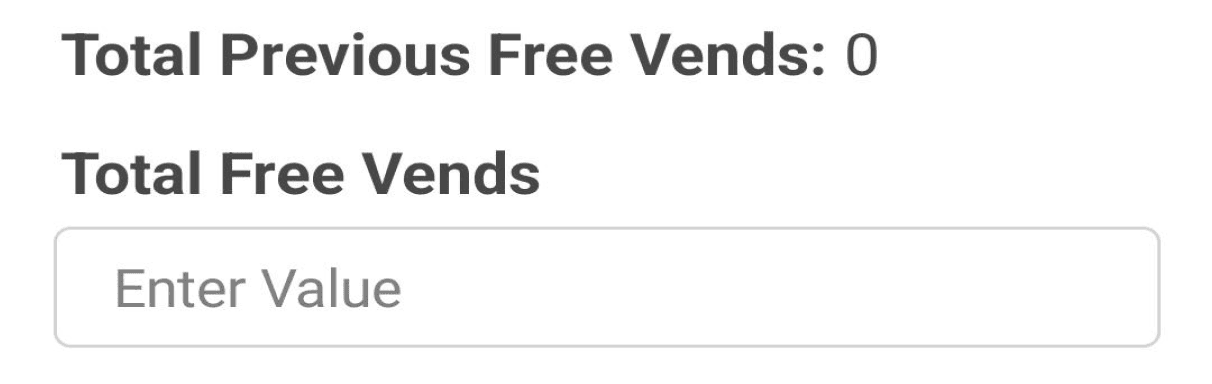
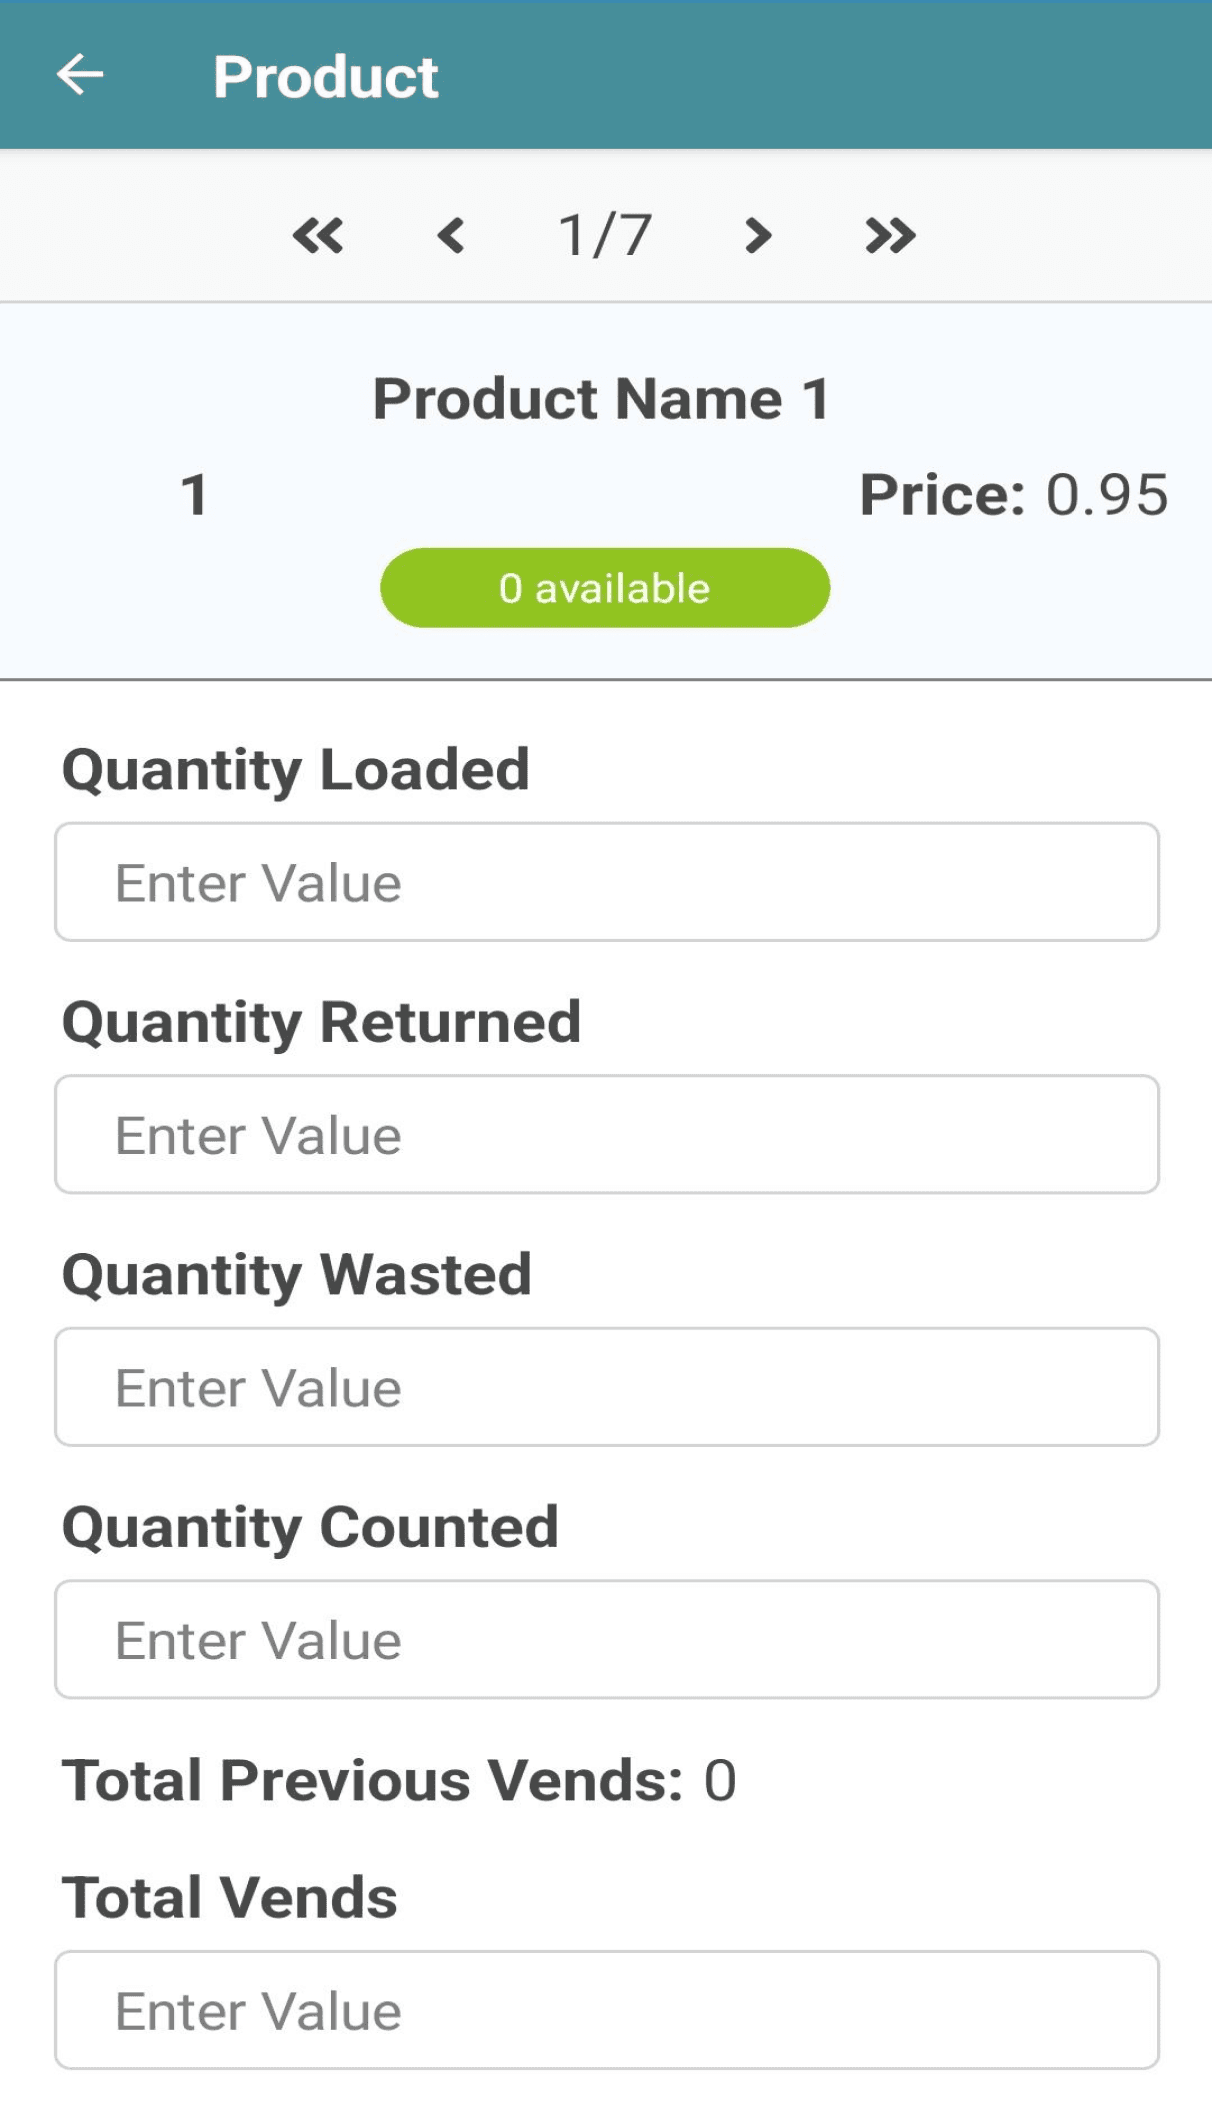
If your organisation tracks counter readings, enter the Total Vends and Total Free Vends for each selection number. If a counter is not being used, you can leave the field empty unless marked as mandatory. For mandatory counters, you can enter the same value as the previous counter to avoid discrepancies.
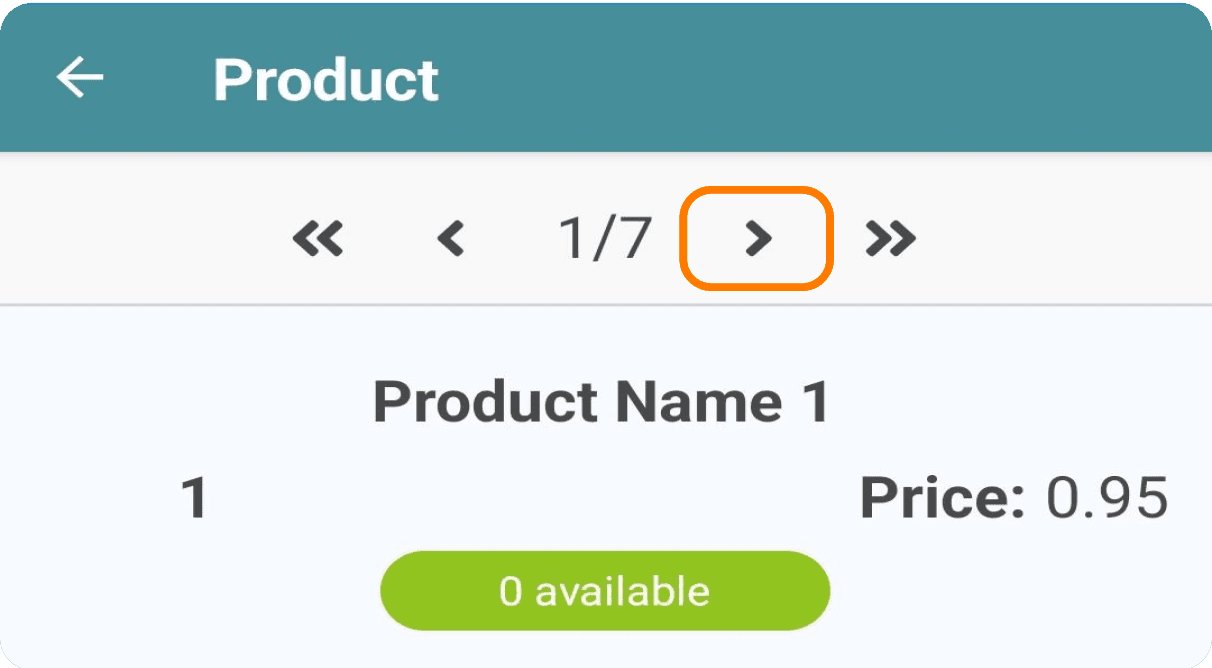
To proceed to the next product, select the `>` arrow at the top of the screen.
How to Scan a Barcode
To scan a product, ensure that the product barcodes are saved in SmartVend; otherwise, you’ll see a prompt indicating that the barcode doesn’t exist.
Select the “Scan Barcode” button to open your phone's camera. Align the barcode within the frame on the screen. Once scanned successfully, the camera will close, and the associated product will open.

Completing the Tickets Section
In the Stock Visit, you'll find the Tickets section.
This section lists all tickets assigned to the visit that need resolution. Each ticket includes the latest comment, which may offer additional details about the fault.
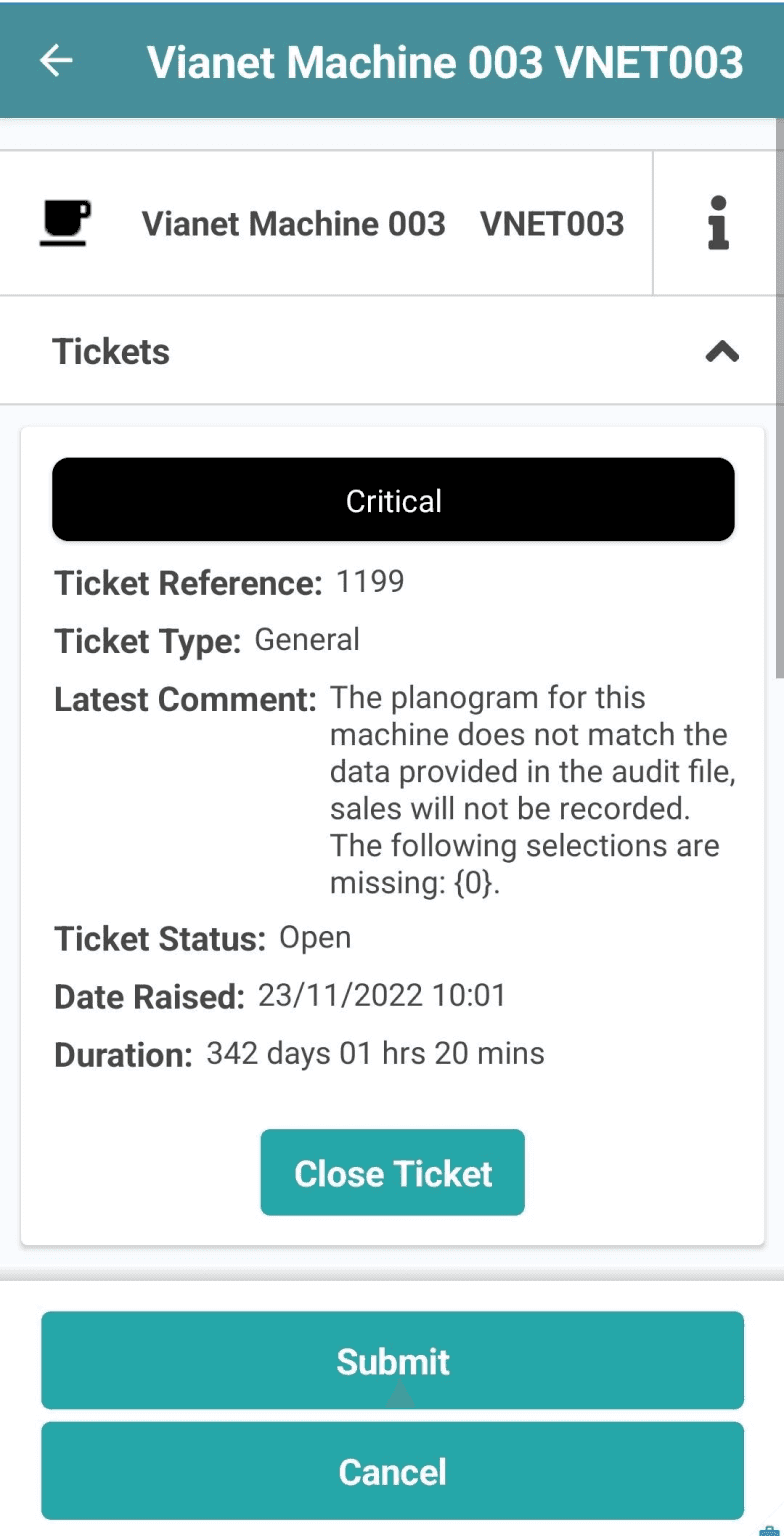

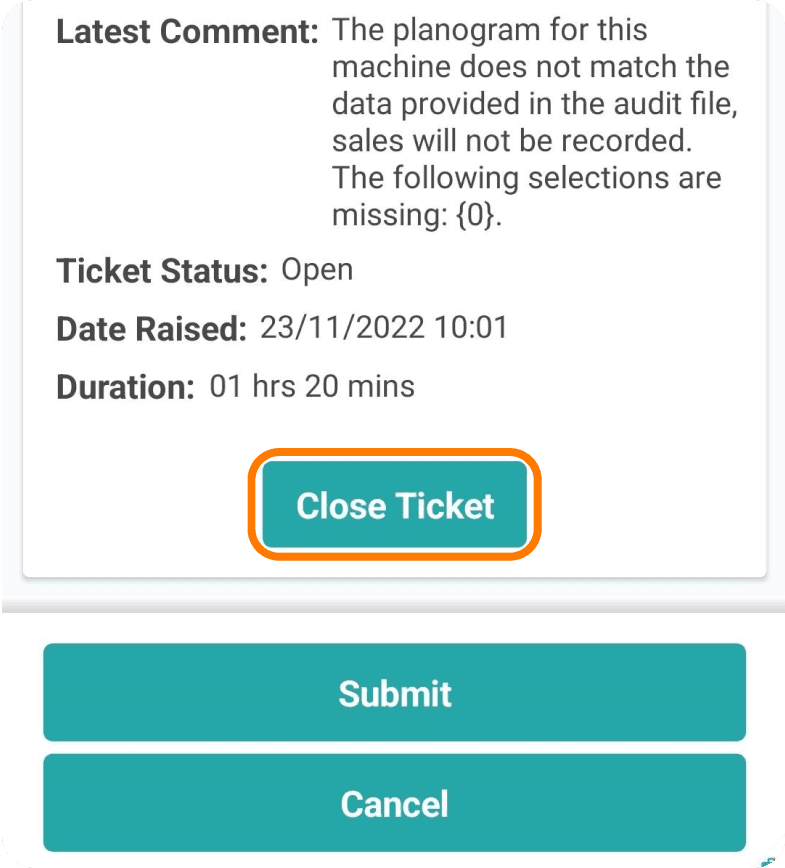
To close a ticket, simply select ‘Close Ticket’.
You will then be required to enter a Fault Code, Resolution Code, and any supporting Notes. To enter a Fault Code, select the first option box.
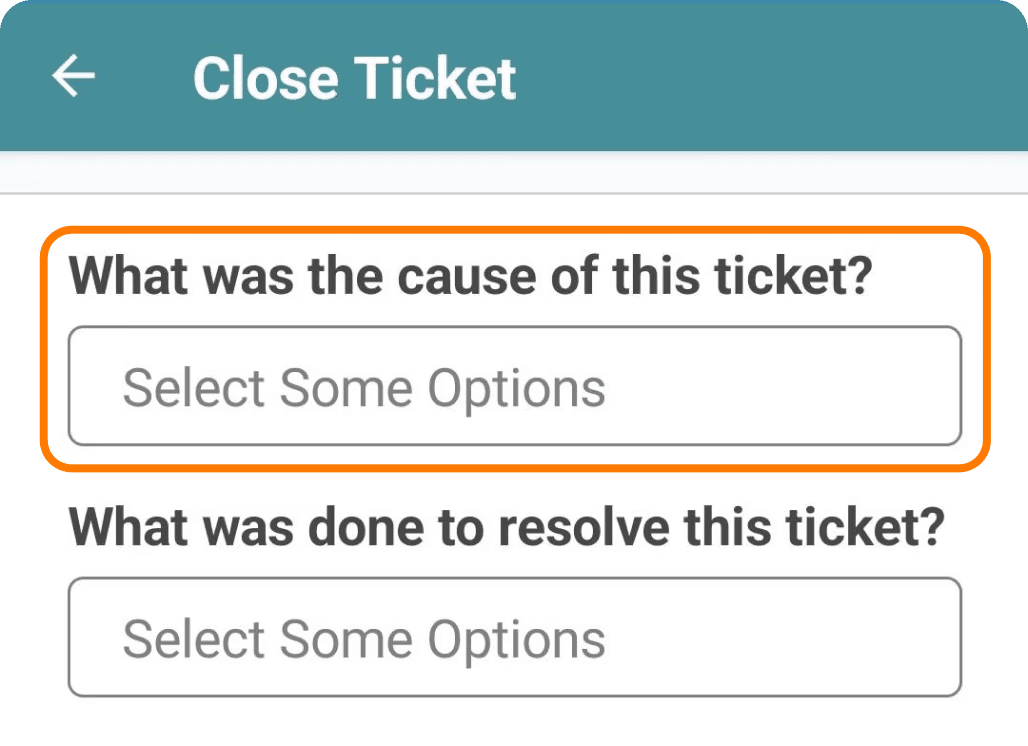
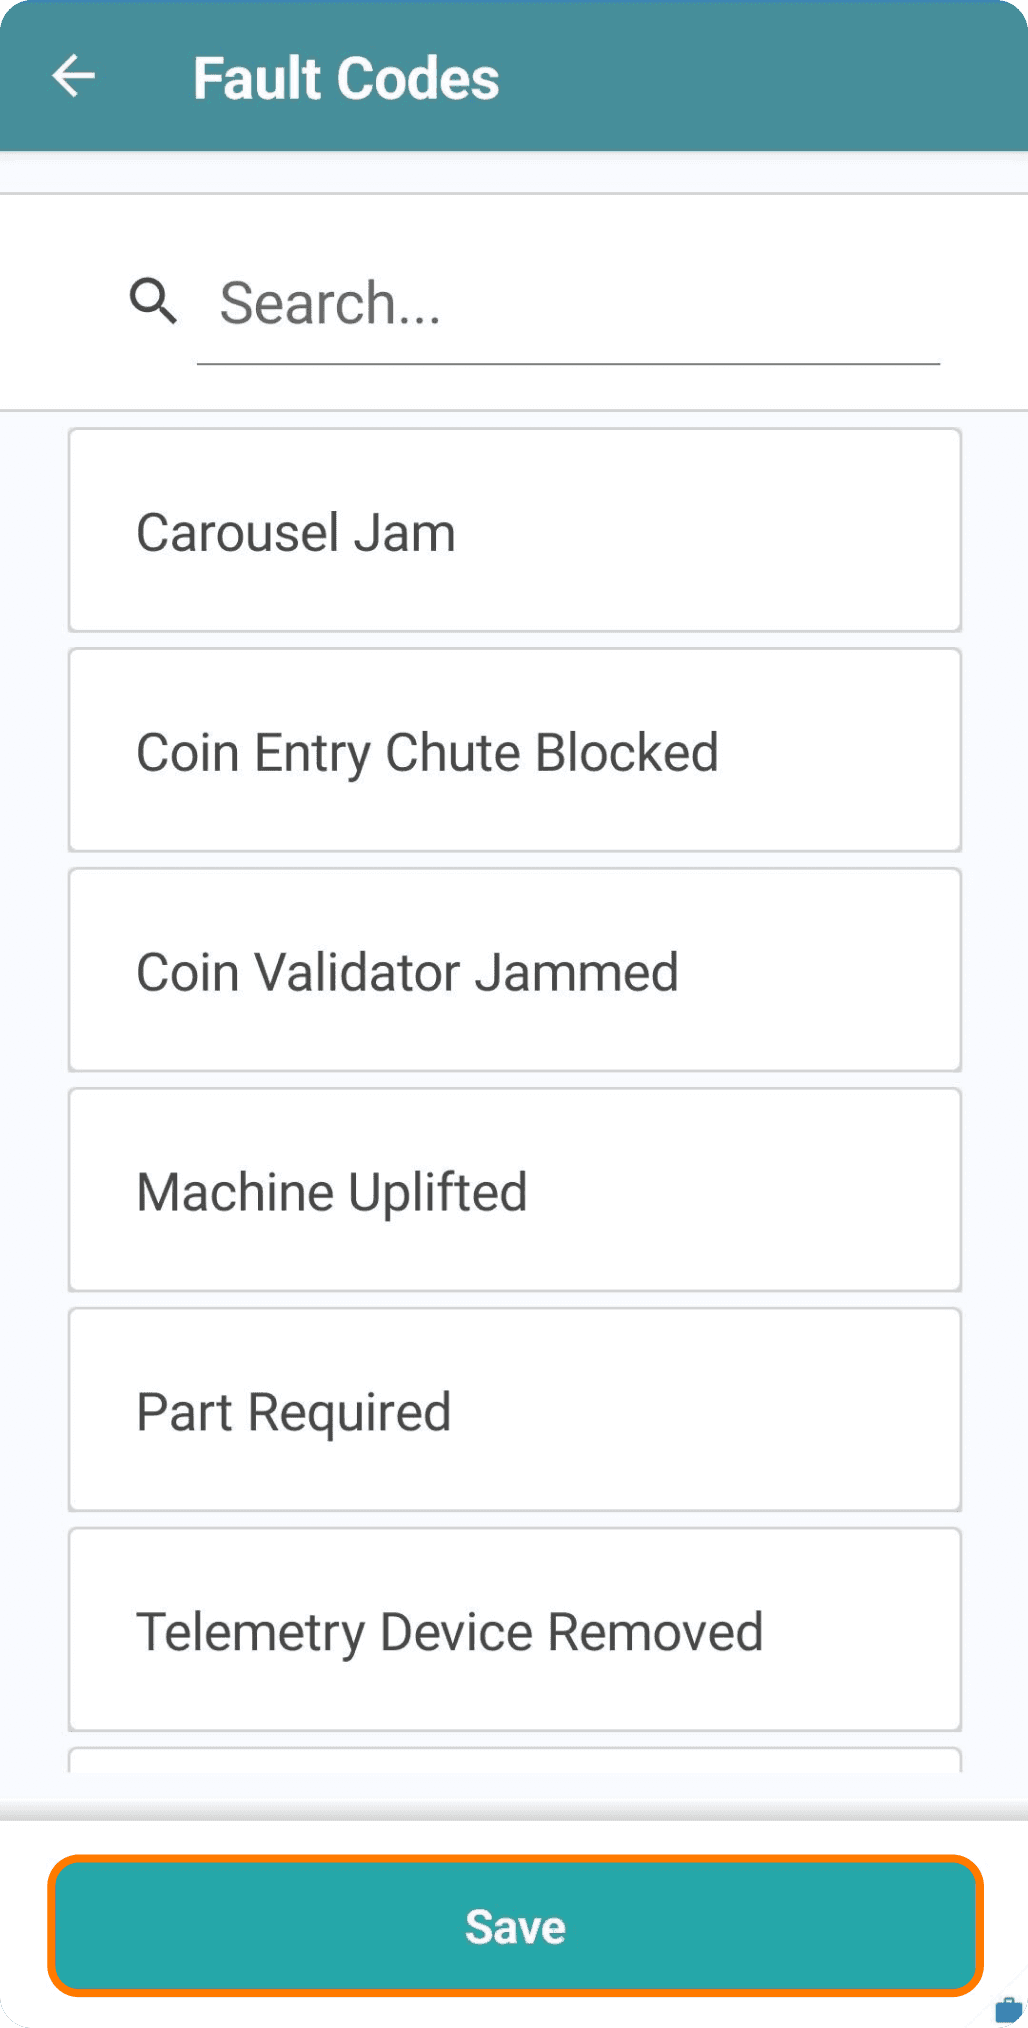
This will display a list of all fault codes created within the organization. If there were multiple causes for the ticket, you can select multiple options. Once you've chosen the necessary Fault Codes, select ‘Save’ to return to the previous screen.
To enter a Resolution Code, select the second option box.
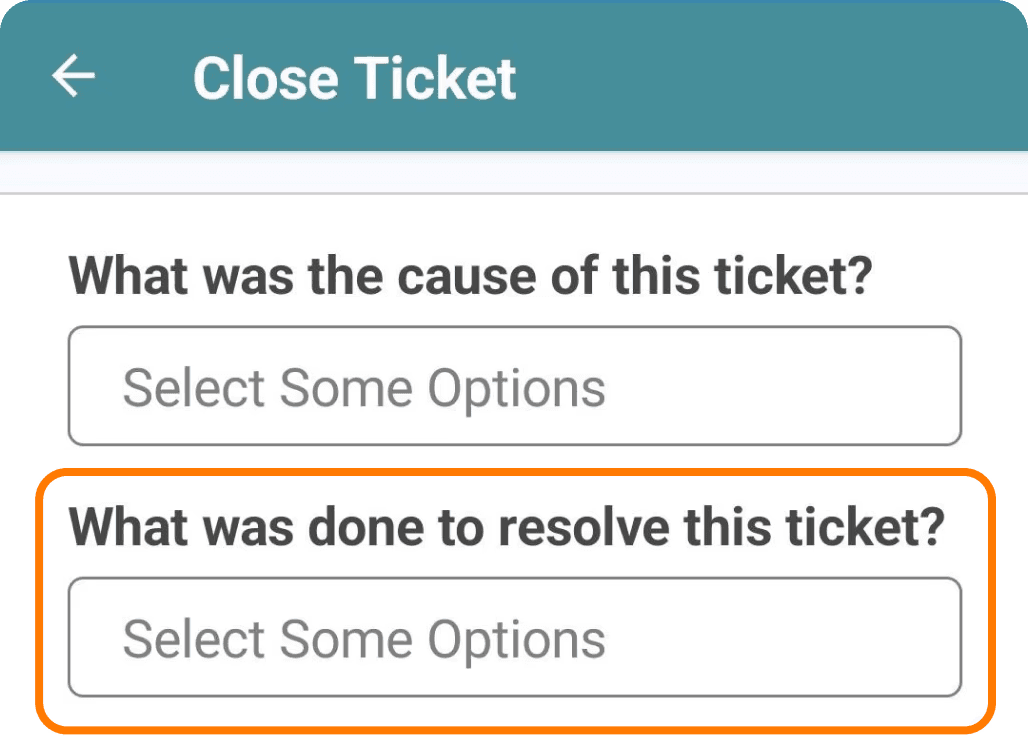

This will display a list of all resolution codes created within the organization. If there were multiple resolutions, you can select multiple options. After choosing the necessary Resolution Codes, select ‘Save’ to return to the previous screen.
You can then add any supporting notes in the Notes section.
After recording all the necessary details, select ‘Close Ticket’ to finalise and close the ticket within the visit.
Quick Tip
Visits with a Service Fill Ticket Type will stay assigned to the operator and will not move to "Action Required." They will update to the current day until the visit is completed or reassigned.
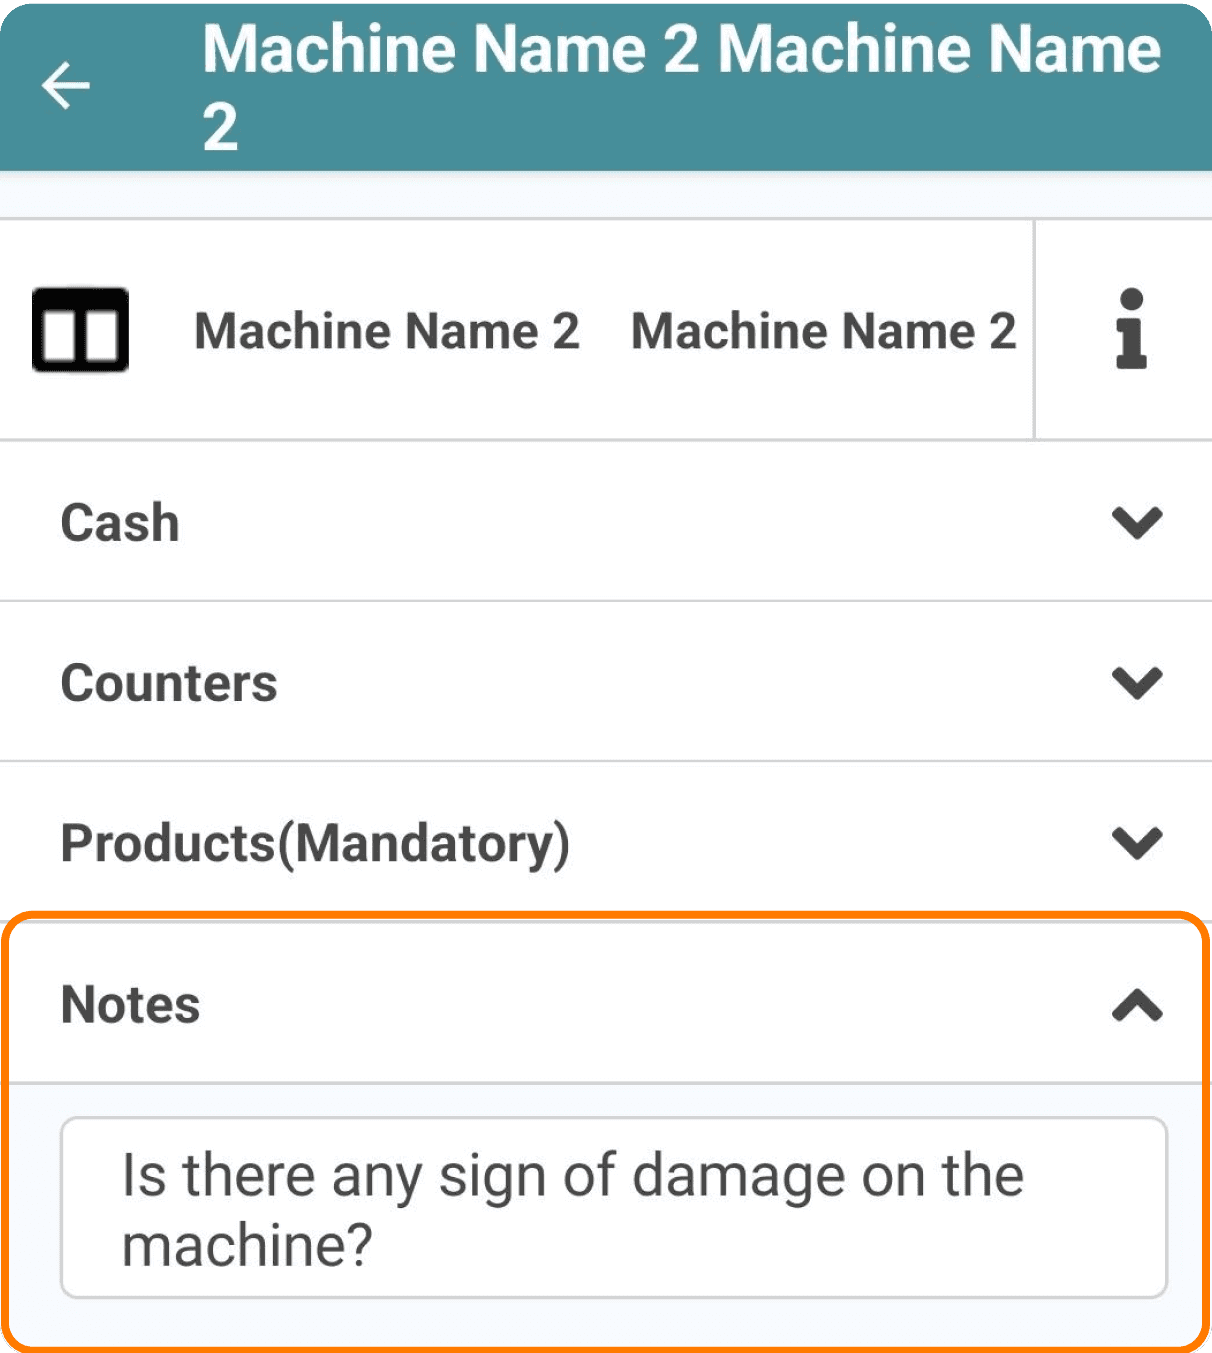
Completing the Notes Section
Within the visit, use the Notes section to record any specific details required for the visit sheet. The back-office may also add additional information or notes for you to review when the visit is created.
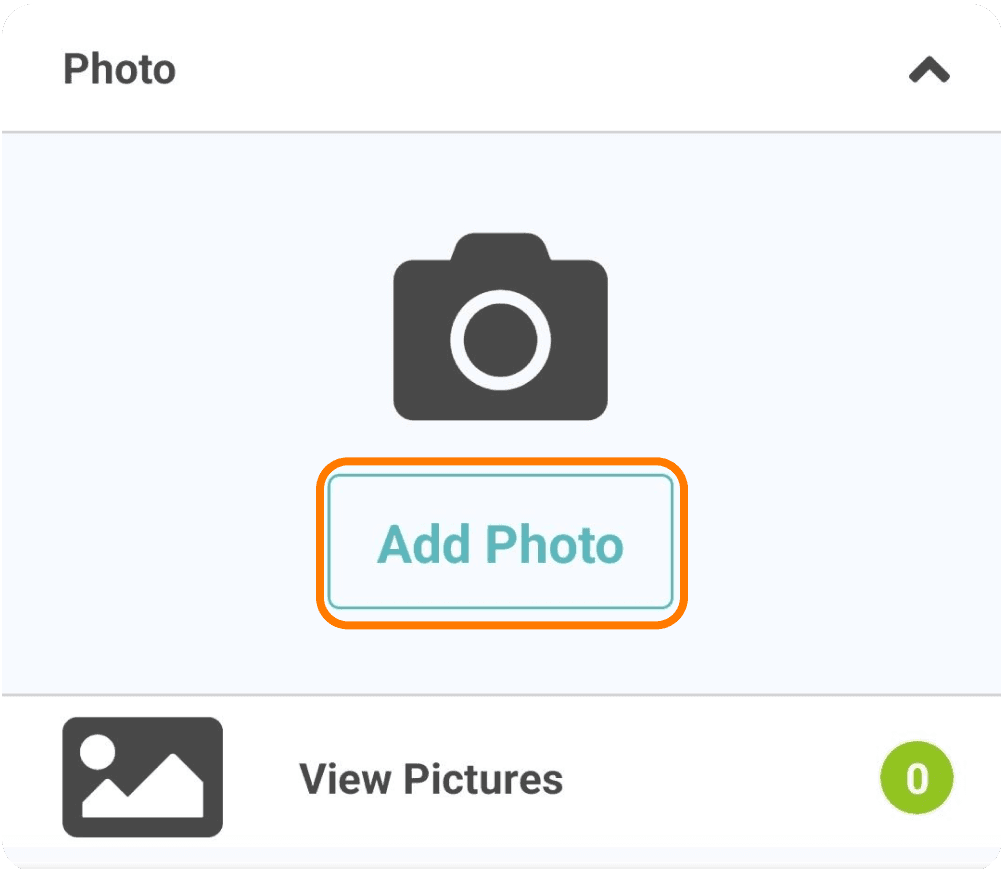
Completing the Photos Section
Within the visit, use the Photos section to upload any required images. You can upload up to 6 photos.
In this section, you can view and remove any uploaded photos. To add a photo, select "Add Photo" which will open your phone's camera.
After taking the photo, select "Ok" to upload it to the visit or "Retry" to take another photo.
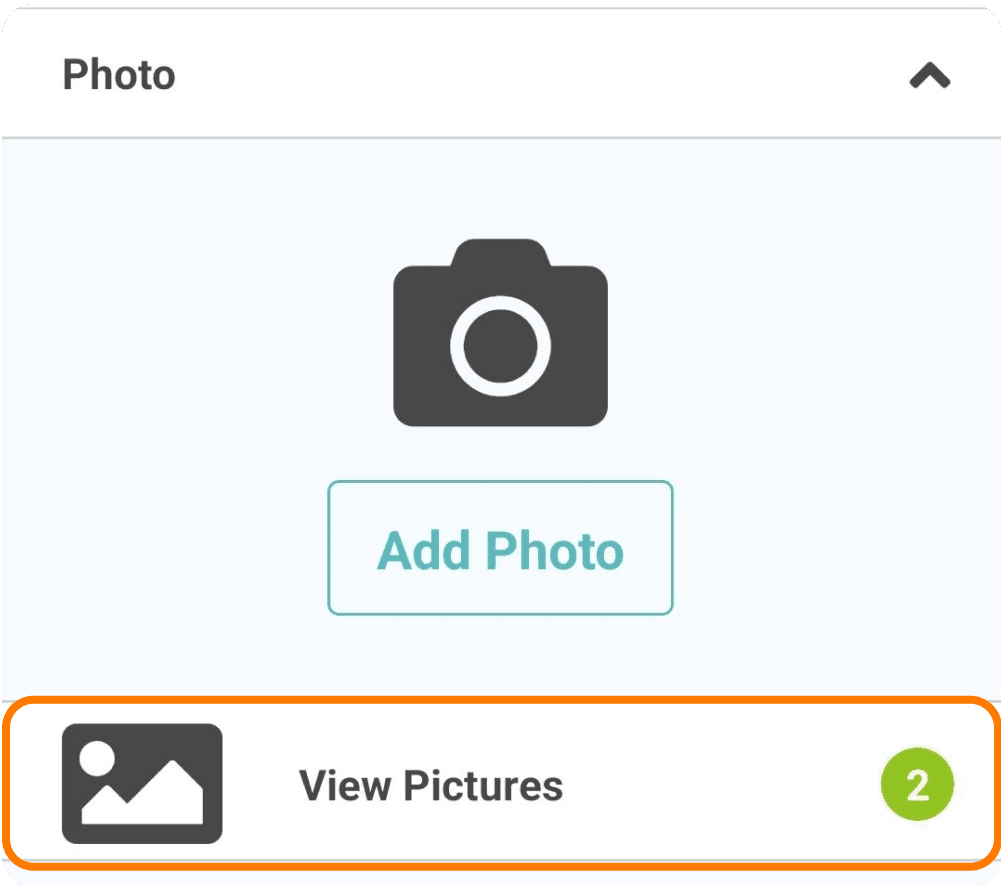
Once the photo is uploaded, view it by selecting "View Pictures"
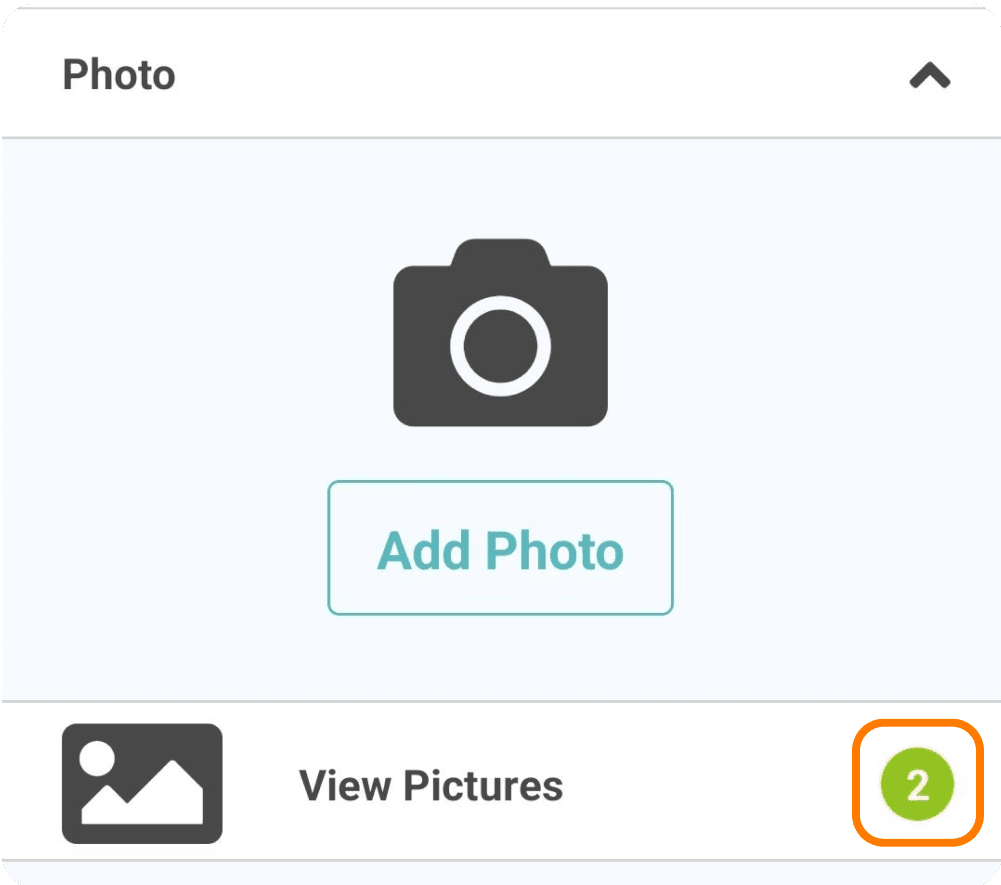
You can see the number of uploaded photos by checking the number displayed in the green circle.

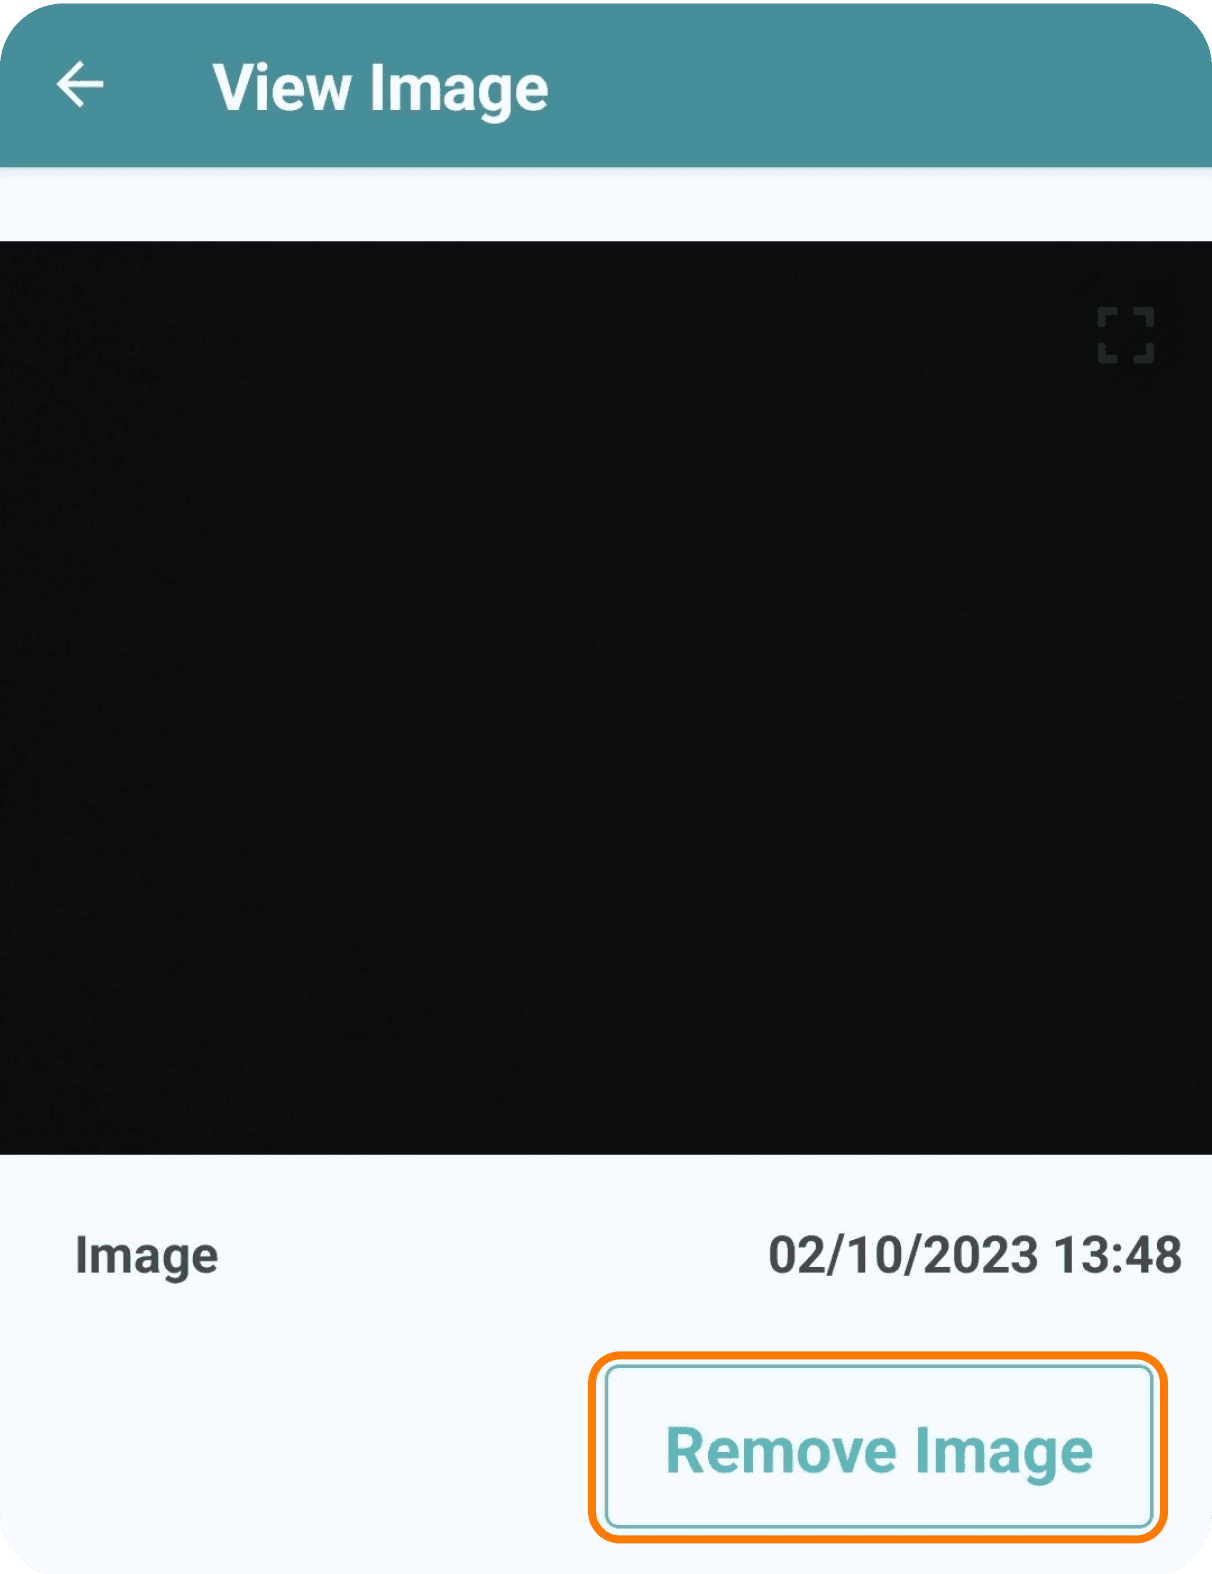
After selecting "View Pictures" you'll see a list of uploaded images with timestamps indicating when they were added. Use the `>` arrow to view an enlarged version of any image.
To remove an uploaded image, first view it in an enlarged format. Then select "Remove Image" and confirm by selecting "Yes" to delete the image from the visit sheet.
Quick Tip
The first time you select “Add Photo” the app will request permission to access your photos and videos. Allow this permission to take and record photos for the visit.
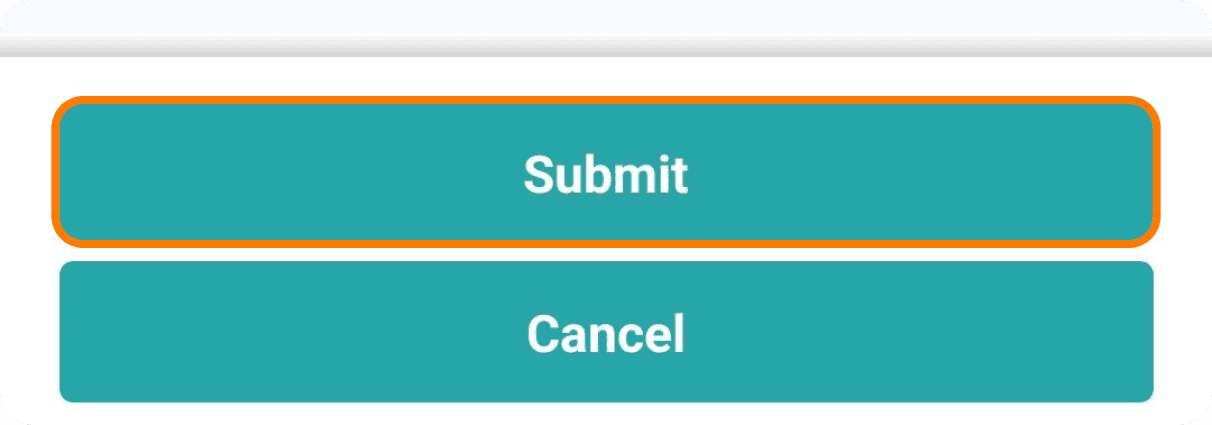
Submitting the Visit
After capturing all mandatory details in each section, select ‘Submit’ to mark the visit as completed.
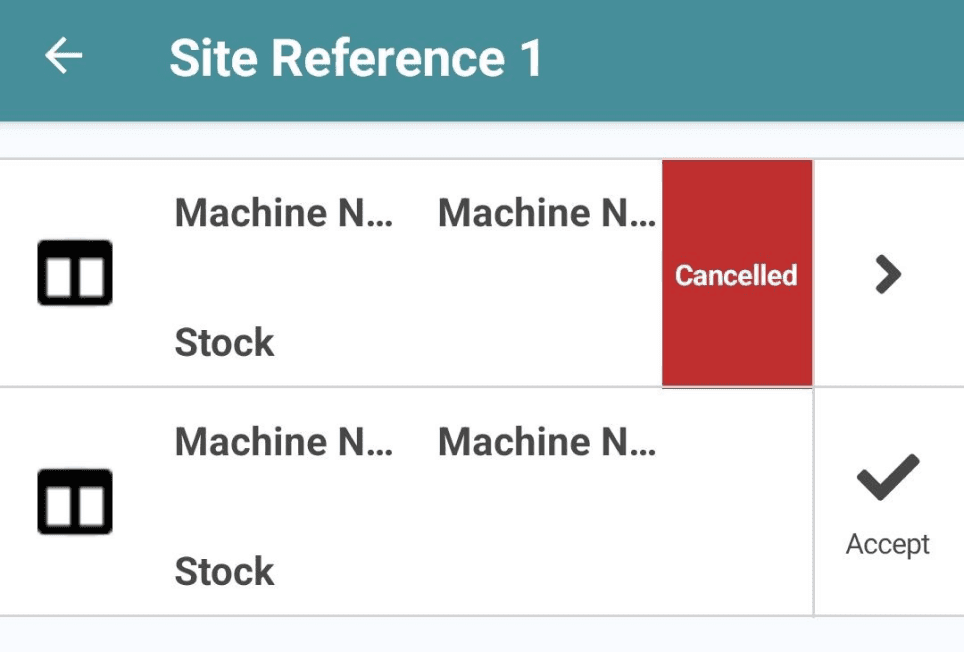
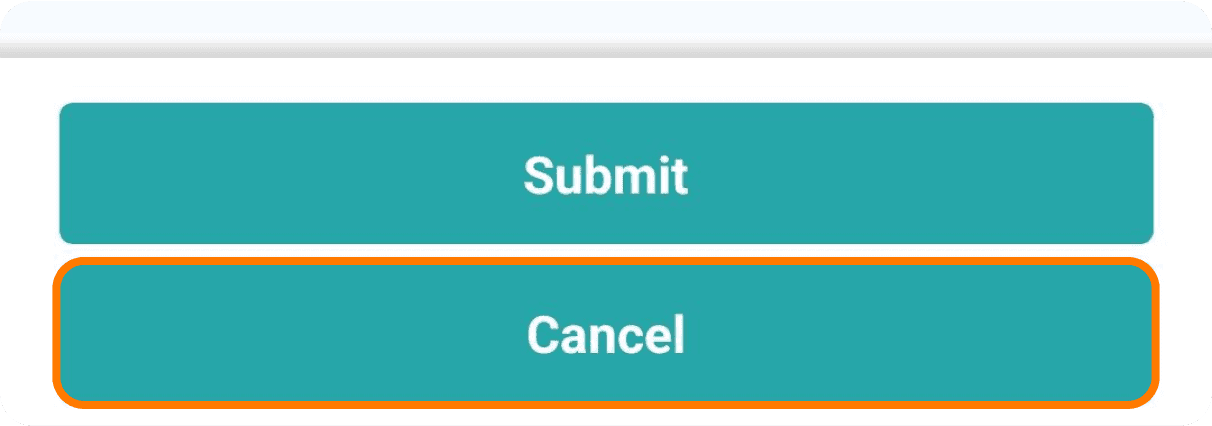
Cancelling the Visit
If you cannot complete the visit, you can cancel it by selecting ‘Cancel’ within the visit sheet.
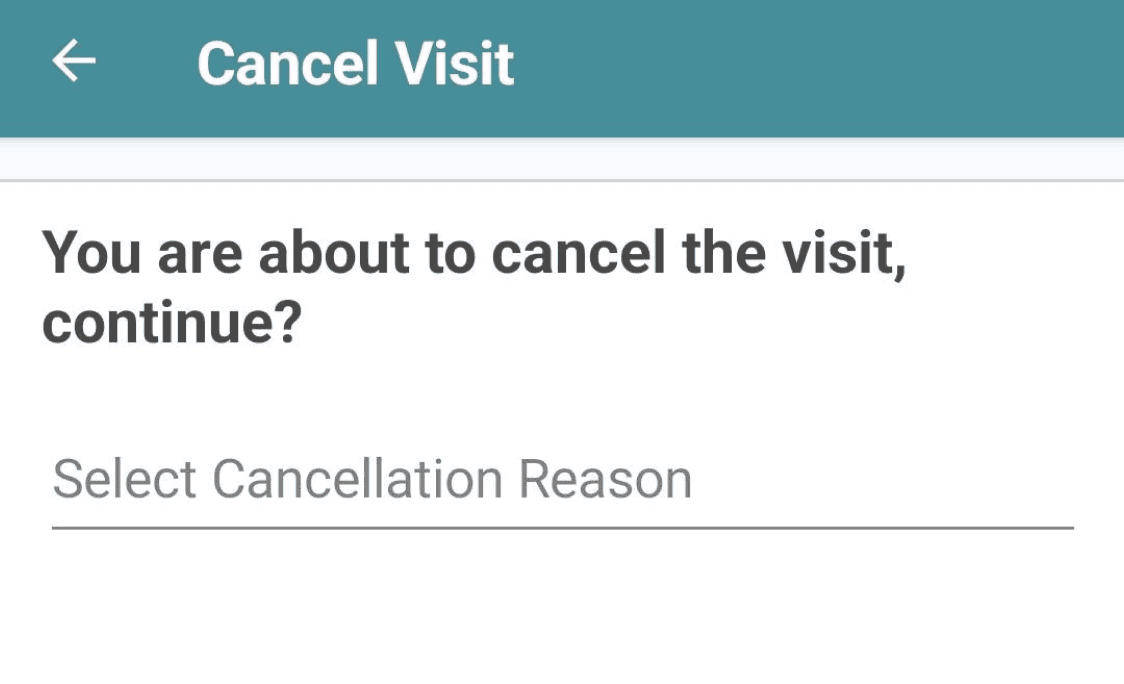
This will allow you to search for a cancellation reason. Type in the field, and matching reasons will appear below. Ensure the reason matches what has been set up in the back-office.
After selecting the reason, choose ‘Continue’ to submit the visit as cancelled. You’ll be directed back to the machine list, where the machine will be marked as ‘Cancelled’.