Completing the Tickets Section
In the Service Visit, you’ll find the Tickets section.
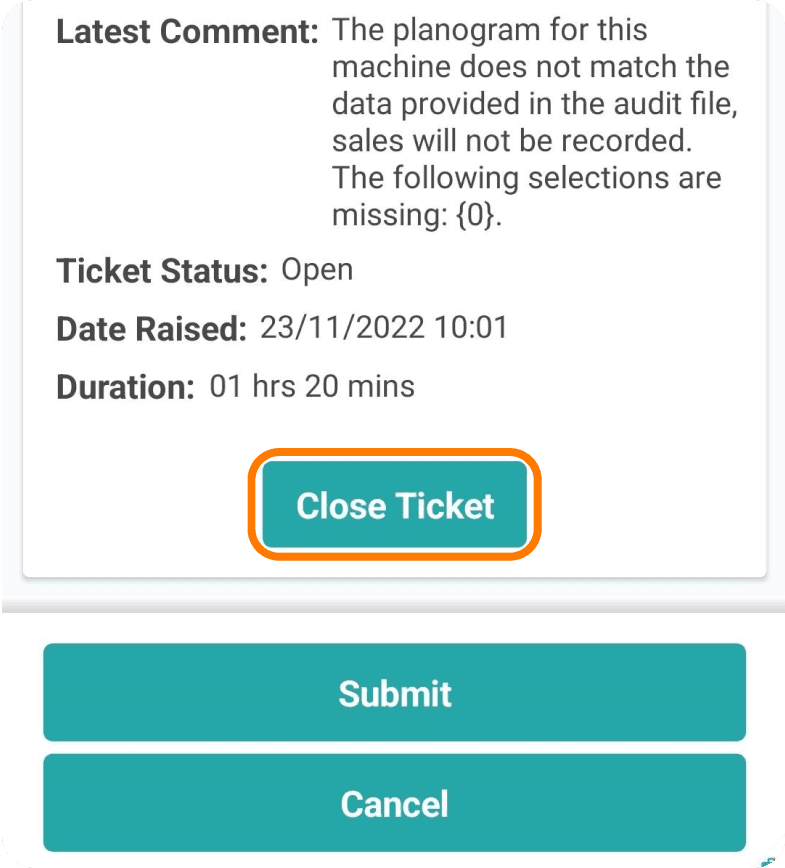
This section lists all tickets assigned to the visit that need resolution. Each ticket includes the latest comment, which may offer additional details about the fault.
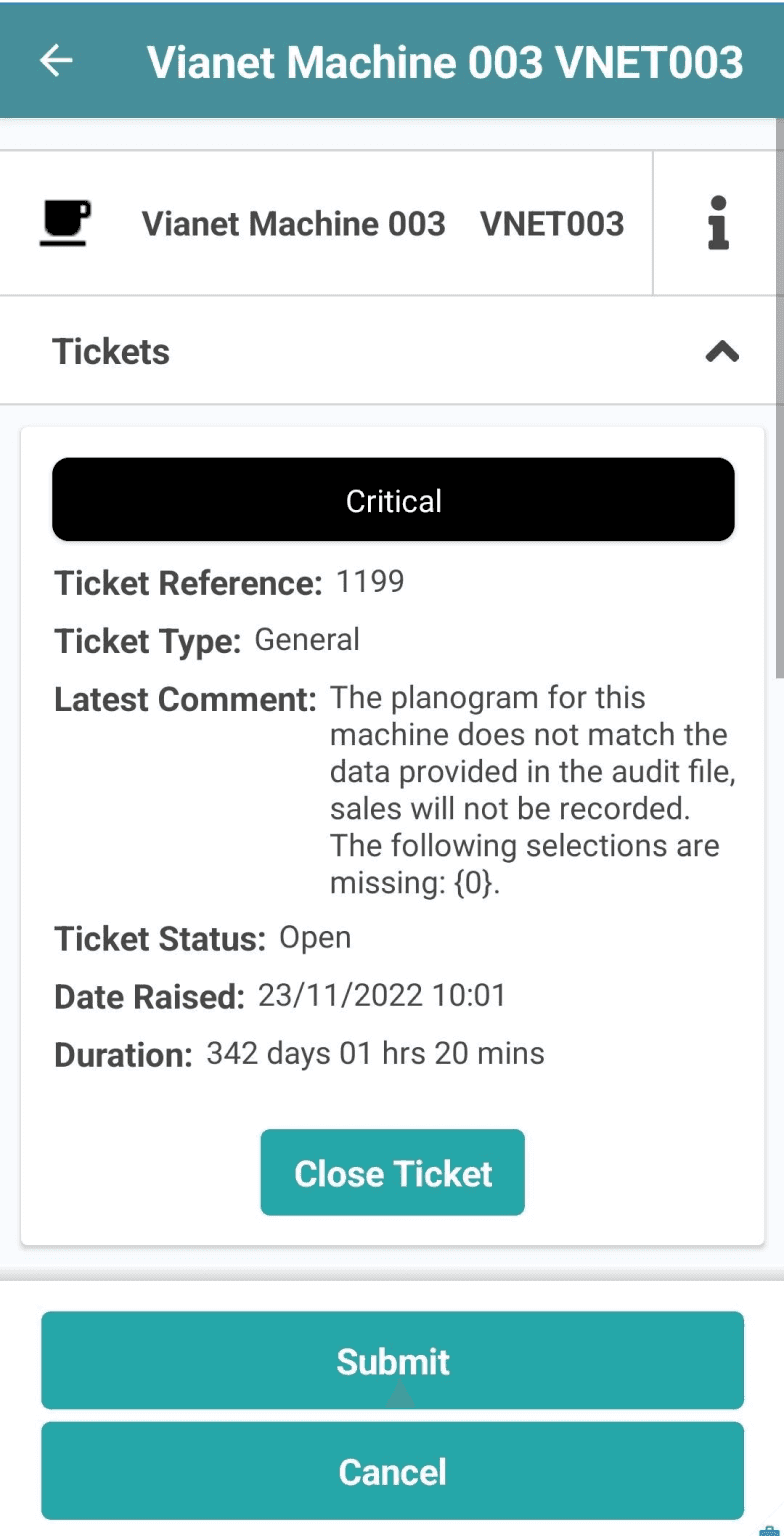

To close a ticket, simply select ‘Close Ticket’.
You will then be required to enter a Fault Code, Resolution Code, and any supporting Notes. To enter a Fault Code, select the first option box.
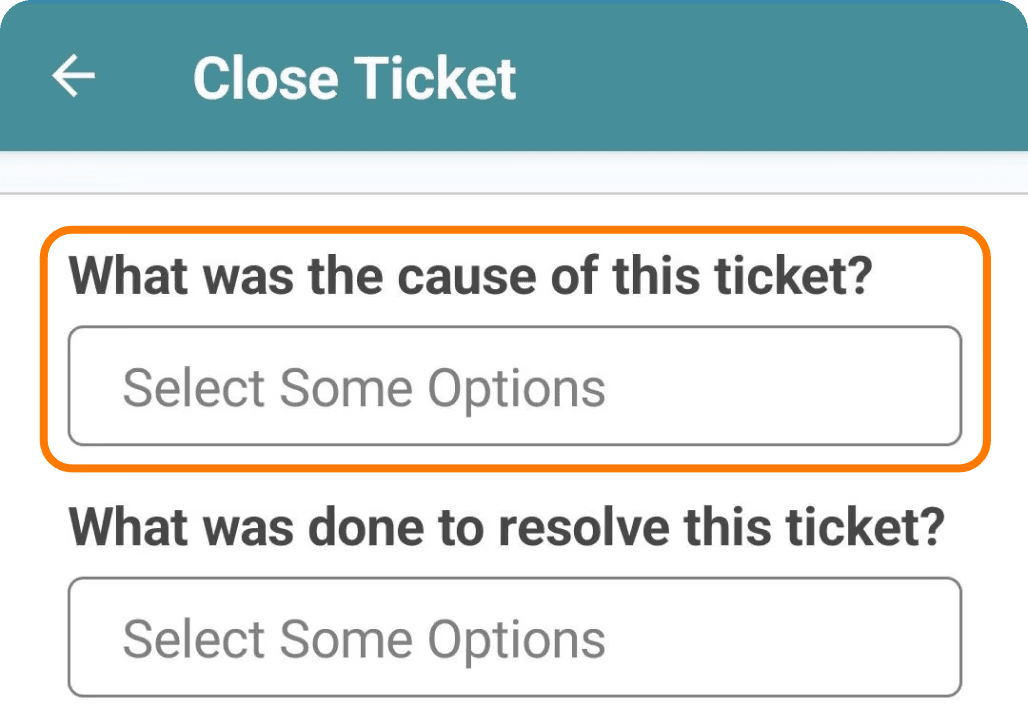
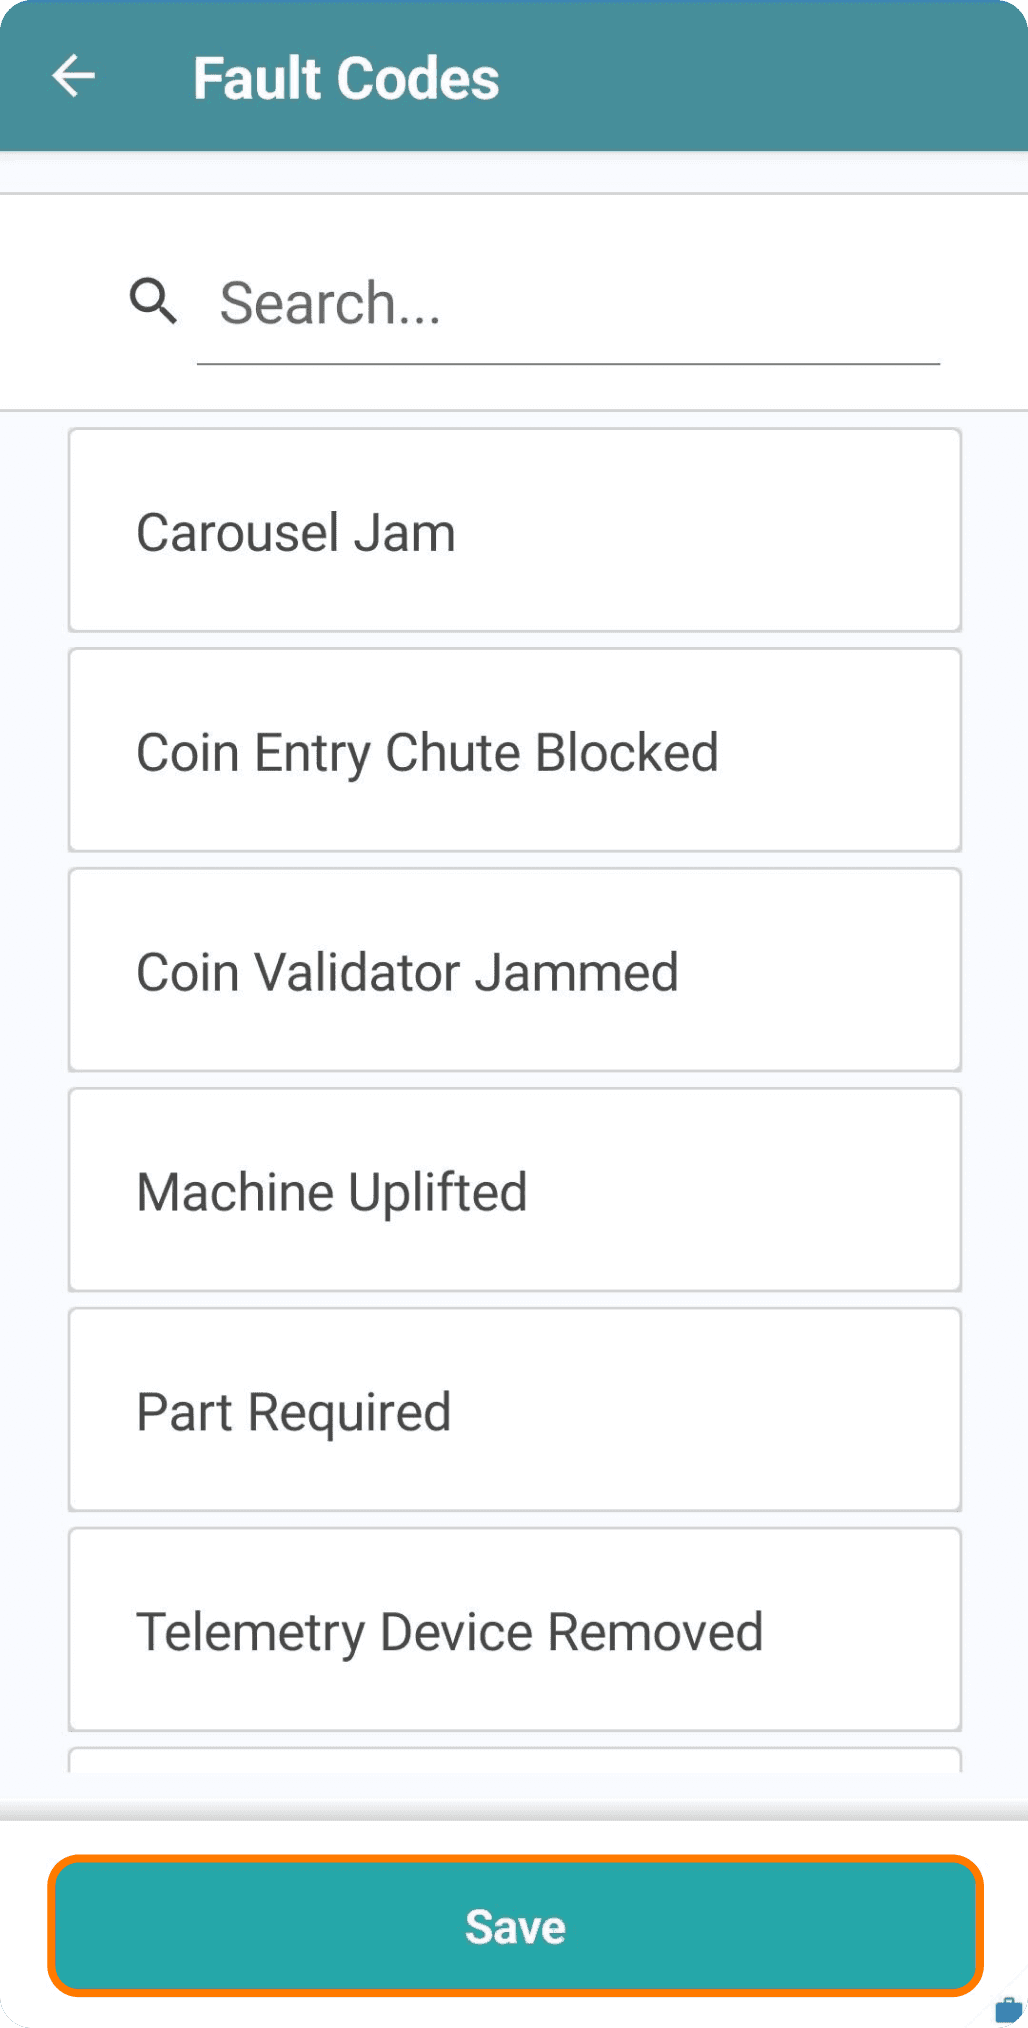
This will display a list of all fault codes created within the organization. If there were multiple causes for the ticket, you can select multiple options. Once you've chosen the necessary Fault Codes, select ‘Save’ to return to the previous screen.
To enter a Resolution Code, select the second option box.
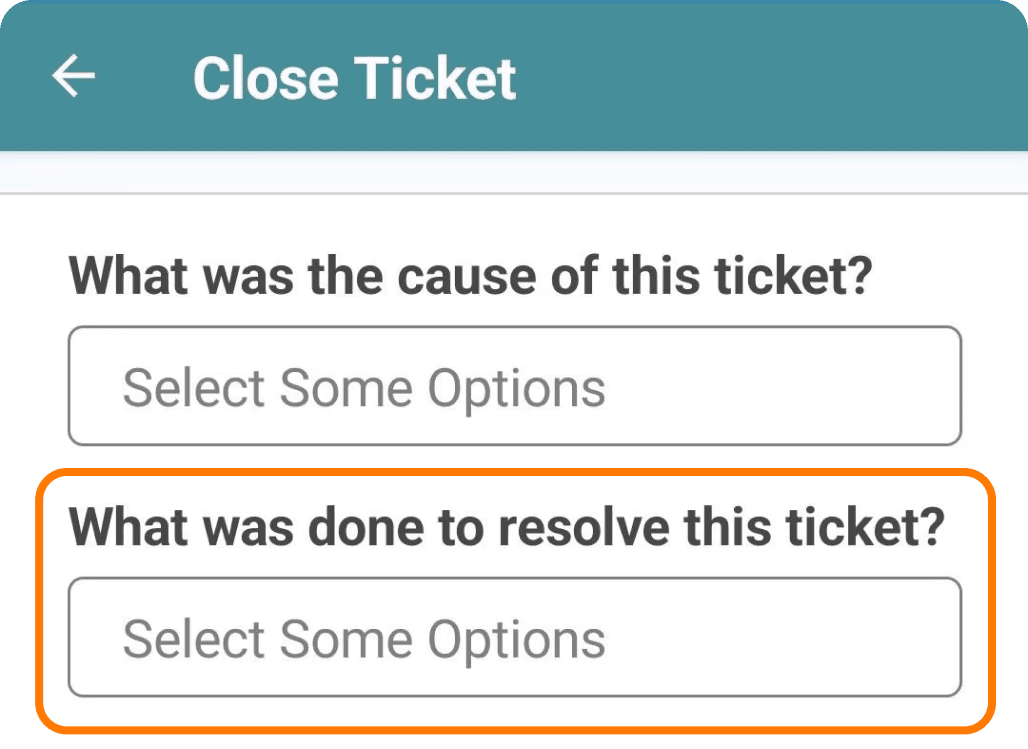
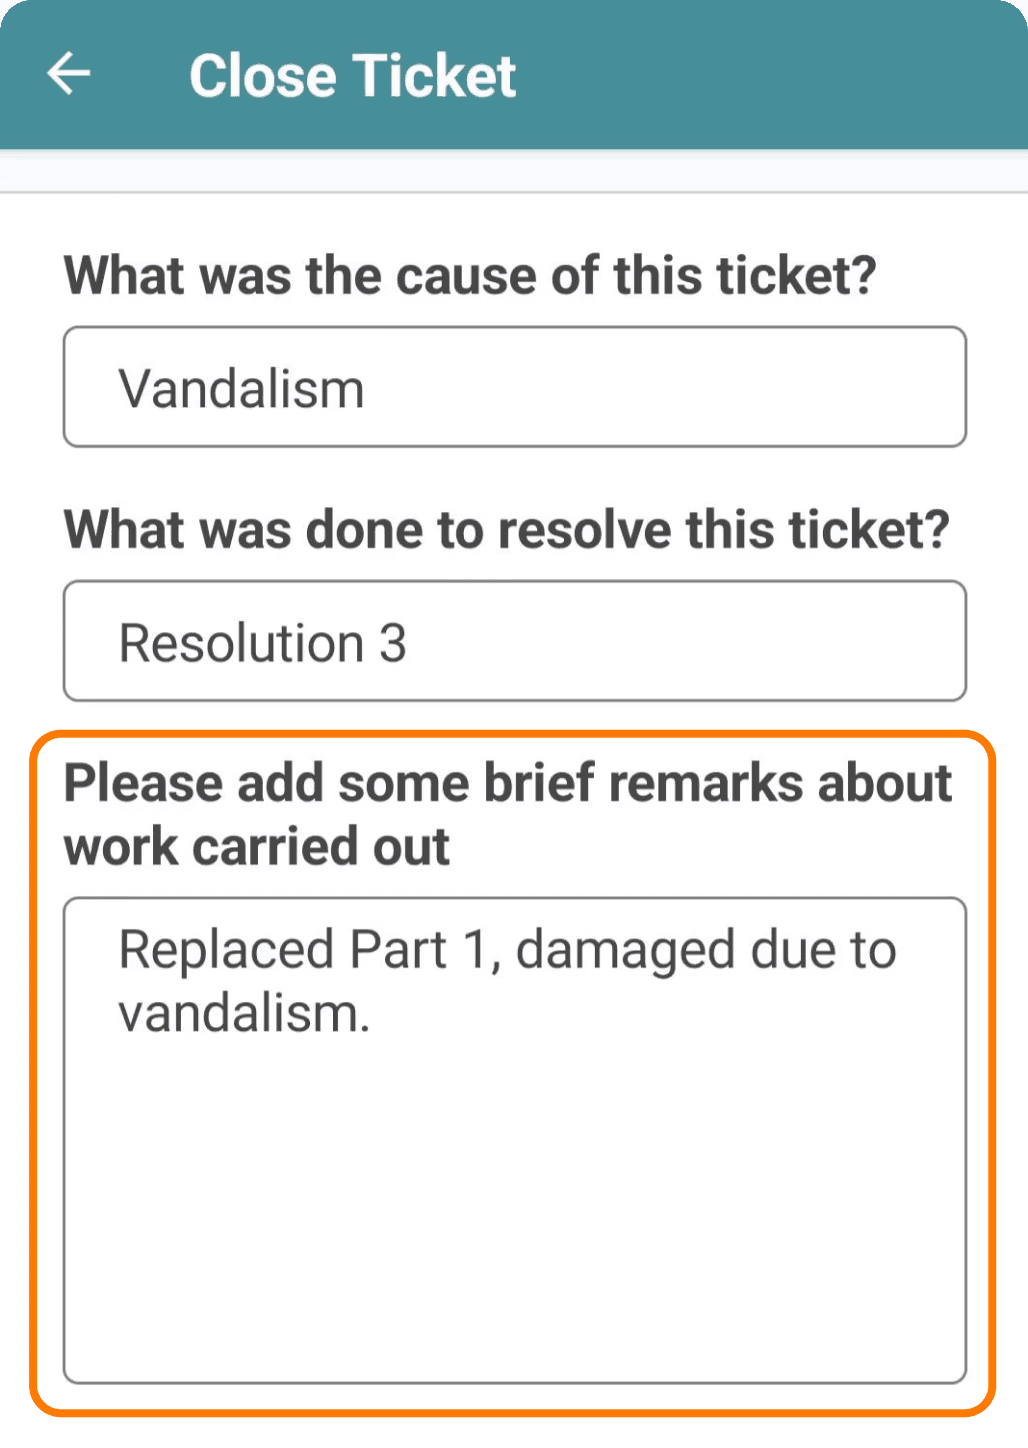
This will display a list of all resolution codes created within the organization. If there were multiple resolutions, you can select multiple options. After choosing the necessary Resolution Codes, select ‘Save’ to return to the previous screen.
You can then add any supporting notes in the Notes section.
After recording all the necessary details, select ‘Close Ticket’ to finalise and close the ticket within the visit.
Adding a Part Action
If you've completed any remedial work during the service visit and used any parts, you must record the parts used and what was done with them.
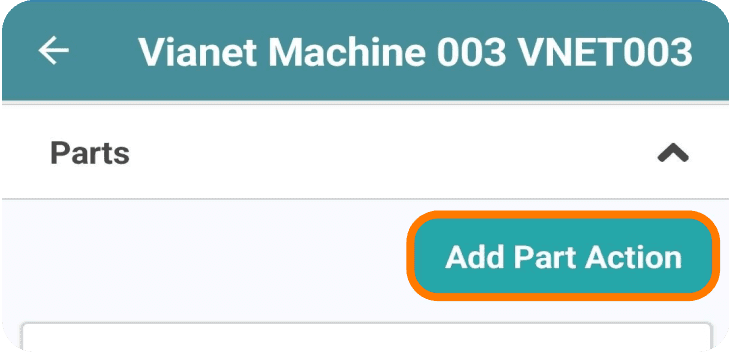
To add a new action, select “Add Part Action”
‘Used’ Parts
If you've used a part that isn’t being installed or replacing another part in the machine, you can record it as a ‘Used’ part.
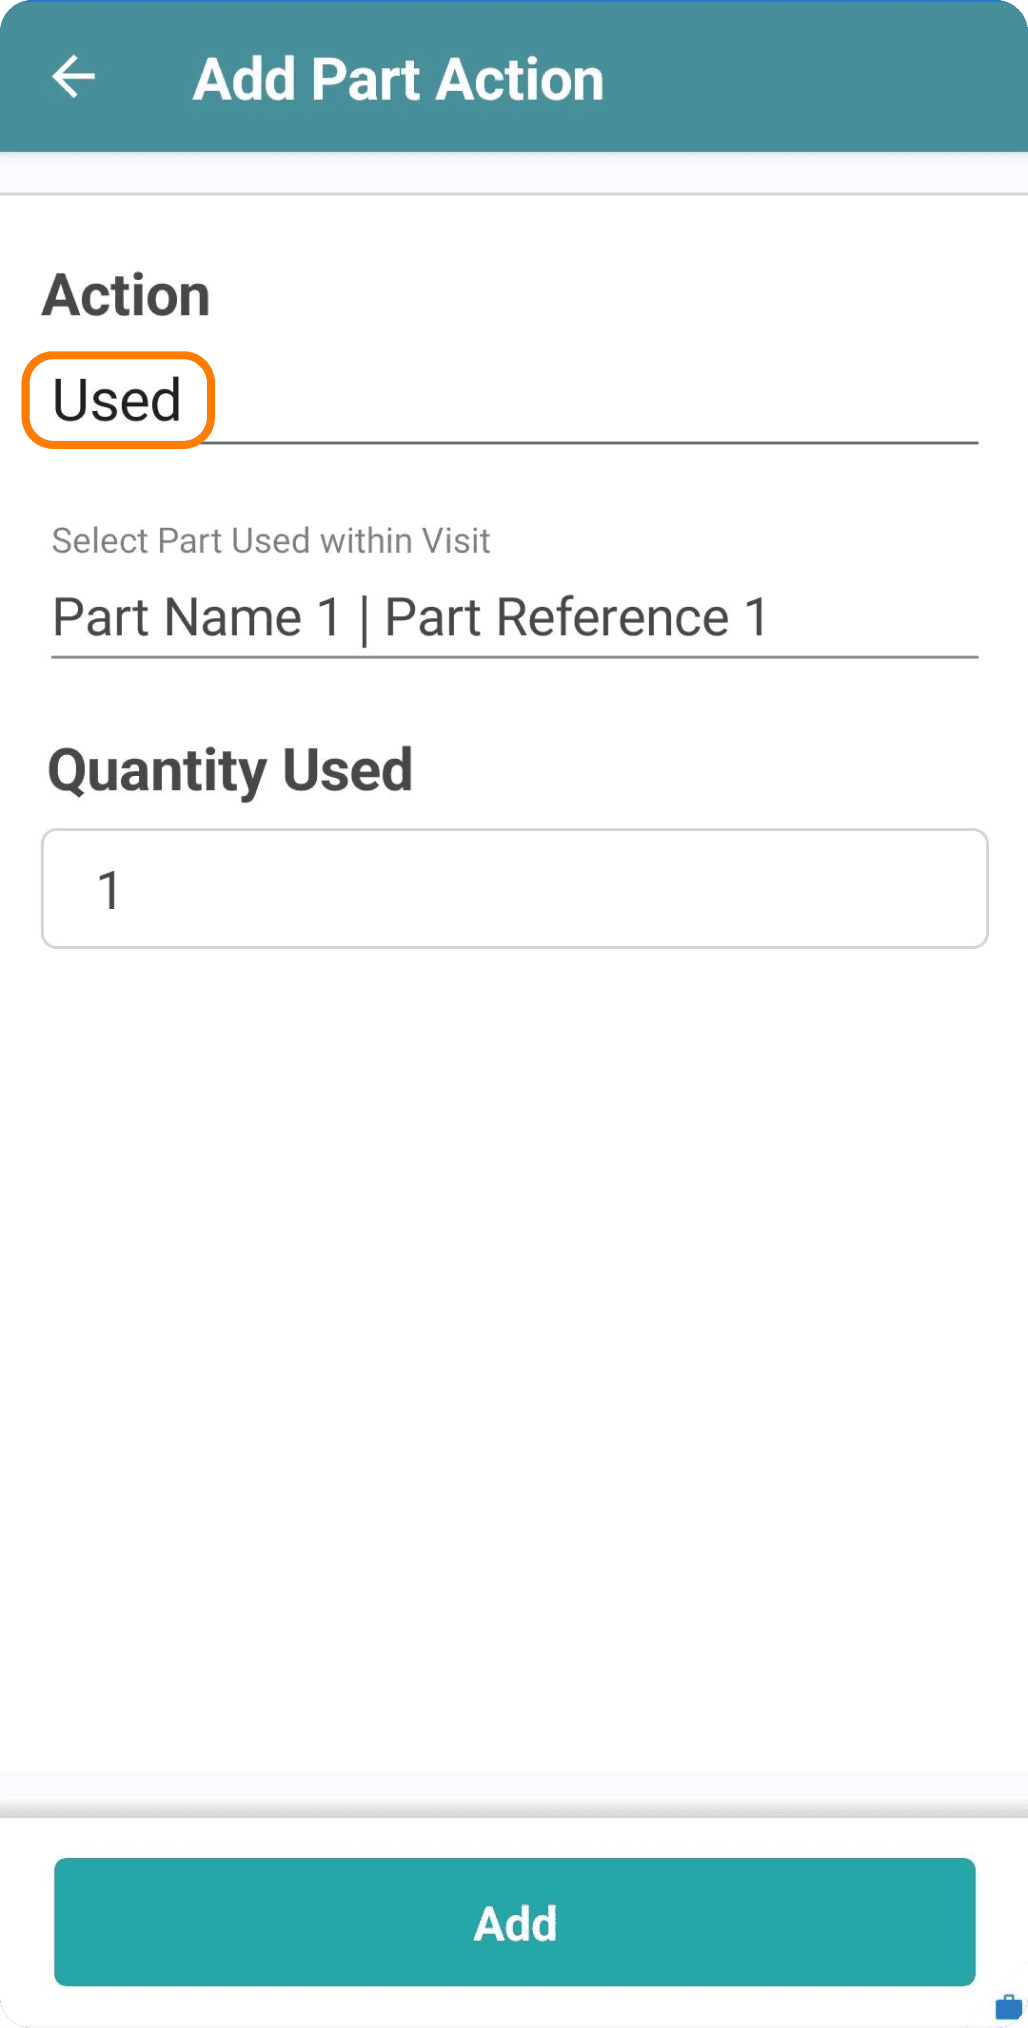
Search for the part you've used and enter the quantity in singles. Once you’ve entered the number, select ‘Add’ to include it in the part actions table.
‘Installed’ Parts
If you’ve installed a part during the visit, record it as an ‘Installed’ part.
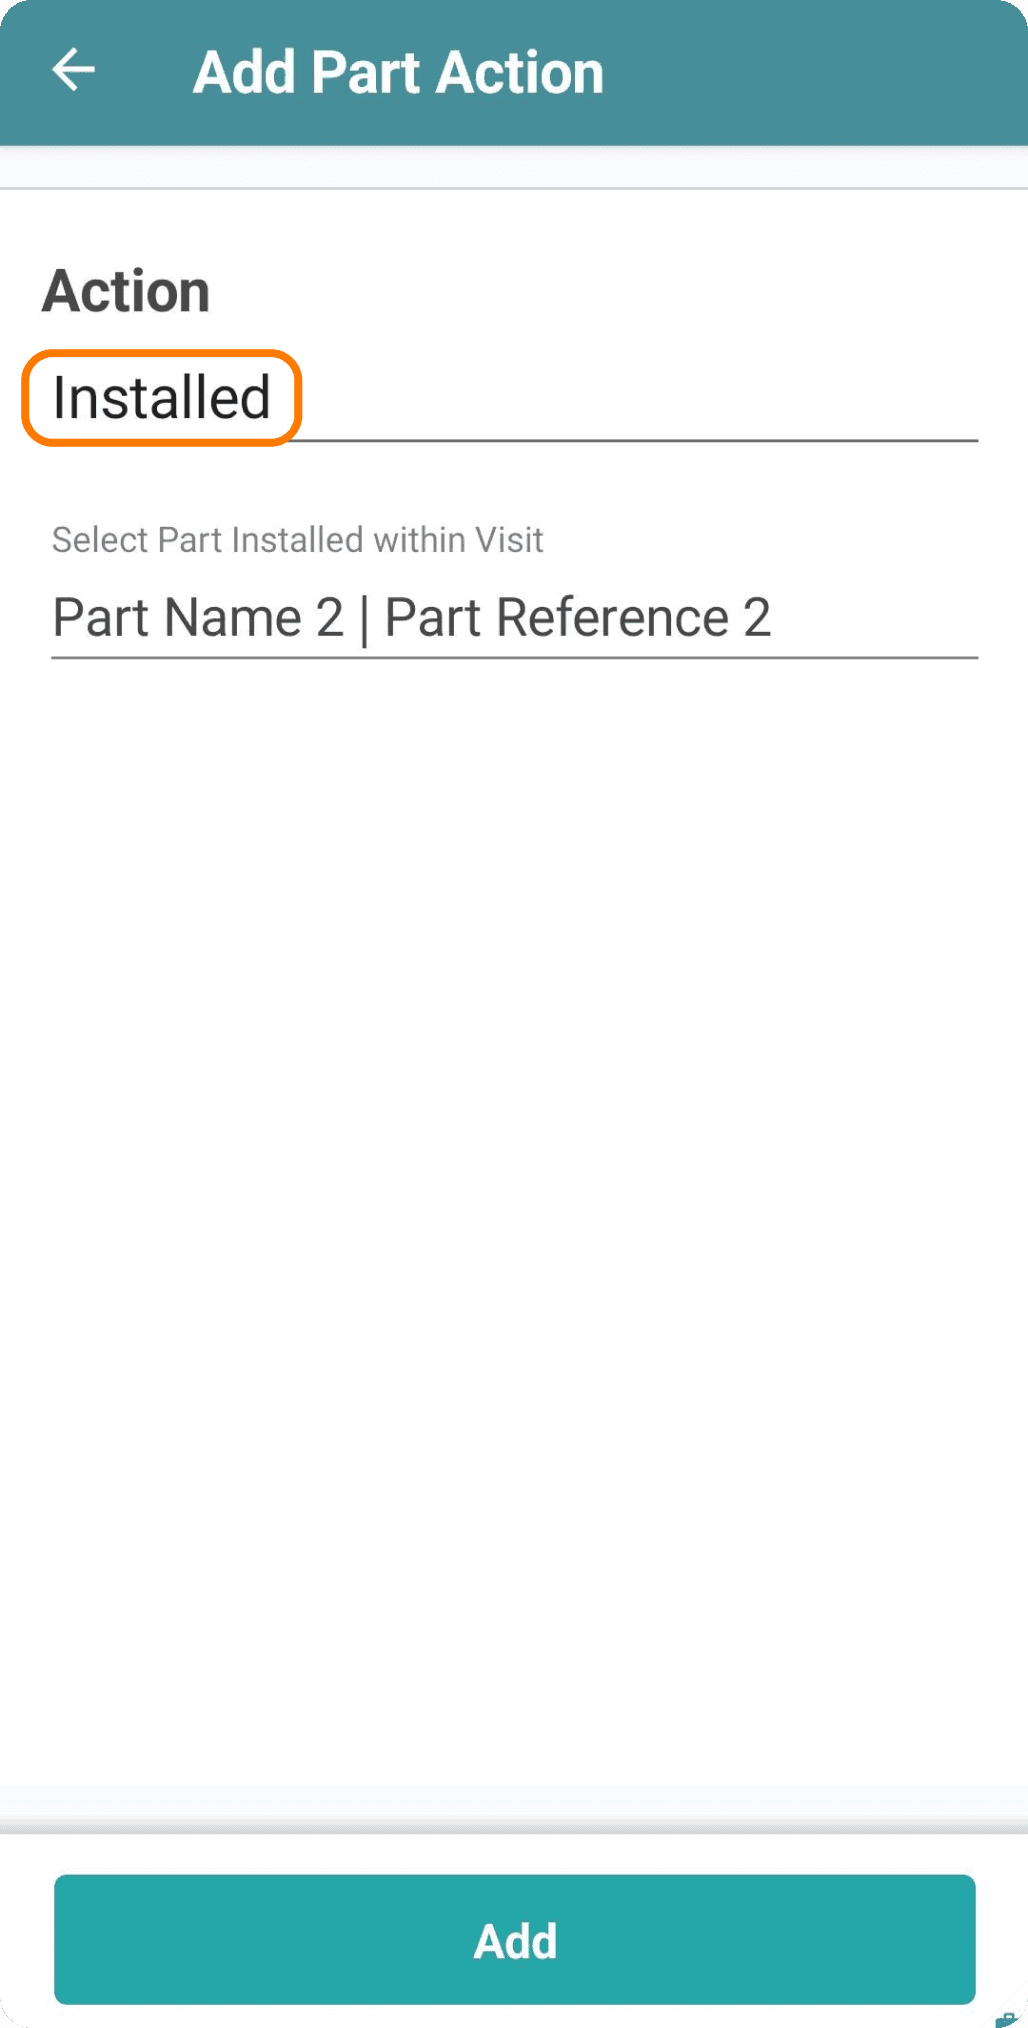
Search for the installed part and select ‘Add’ to include it in the part actions table.
‘Replaced’ Parts
If you’ve replaced an existing part with a new one, use the ‘Replaced’ action.
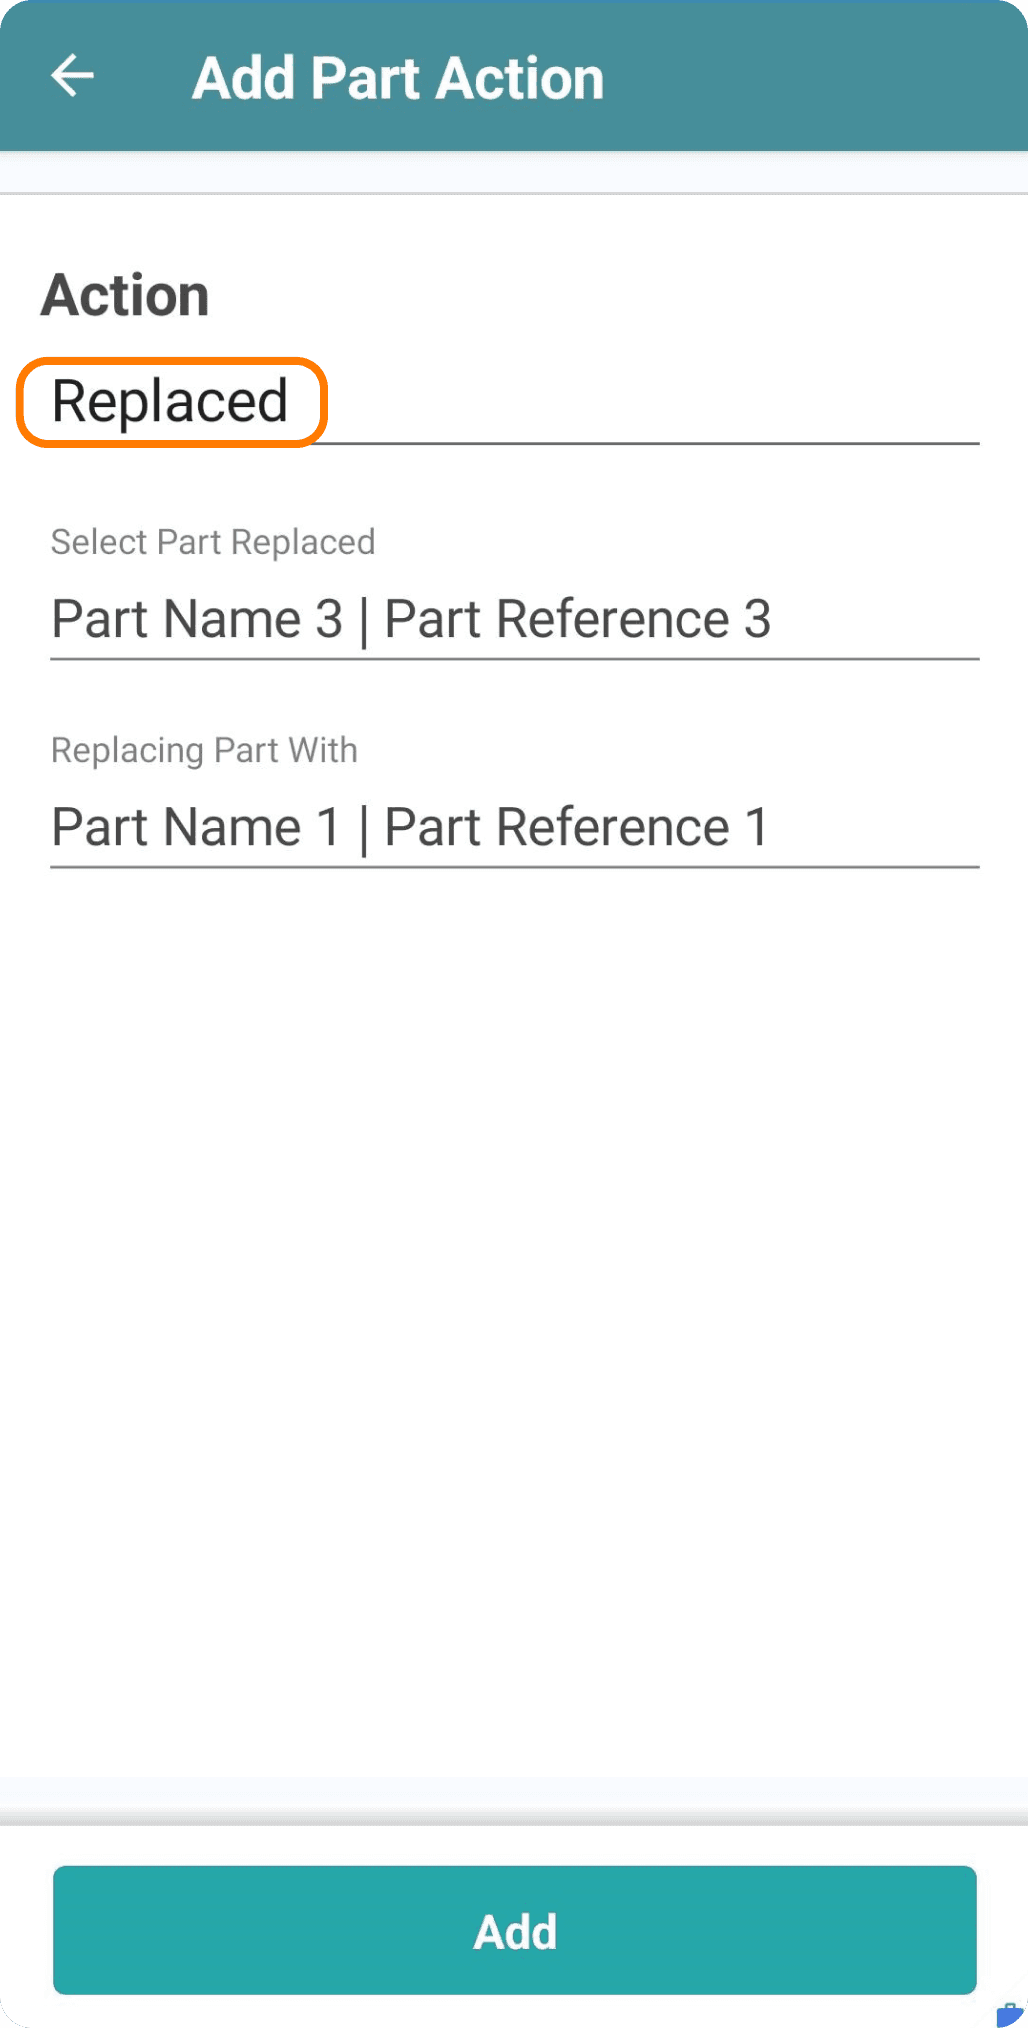
Search for the replaced part and the new part. Select ‘Add’ to record the replacement, and you’ll return to the part actions table.
Quick Tip
Parts must be in the location to appear in searches for Used and Installed part actions.
For Request parts, the search covers the entire part catalogue.
For Replaced parts, the “Select Part Replaced” option searches the entire catalogue, while the “Replacing Part With” option only searches within the location.
‘Request’ Parts
If you need a part during a visit but don't have it in your location, you can ‘Request’ it. Search the organisation’s part list to find the part, as it may not be frequently used and might need to be ordered.
After selecting the part, confirm whether it is for Installation or not.
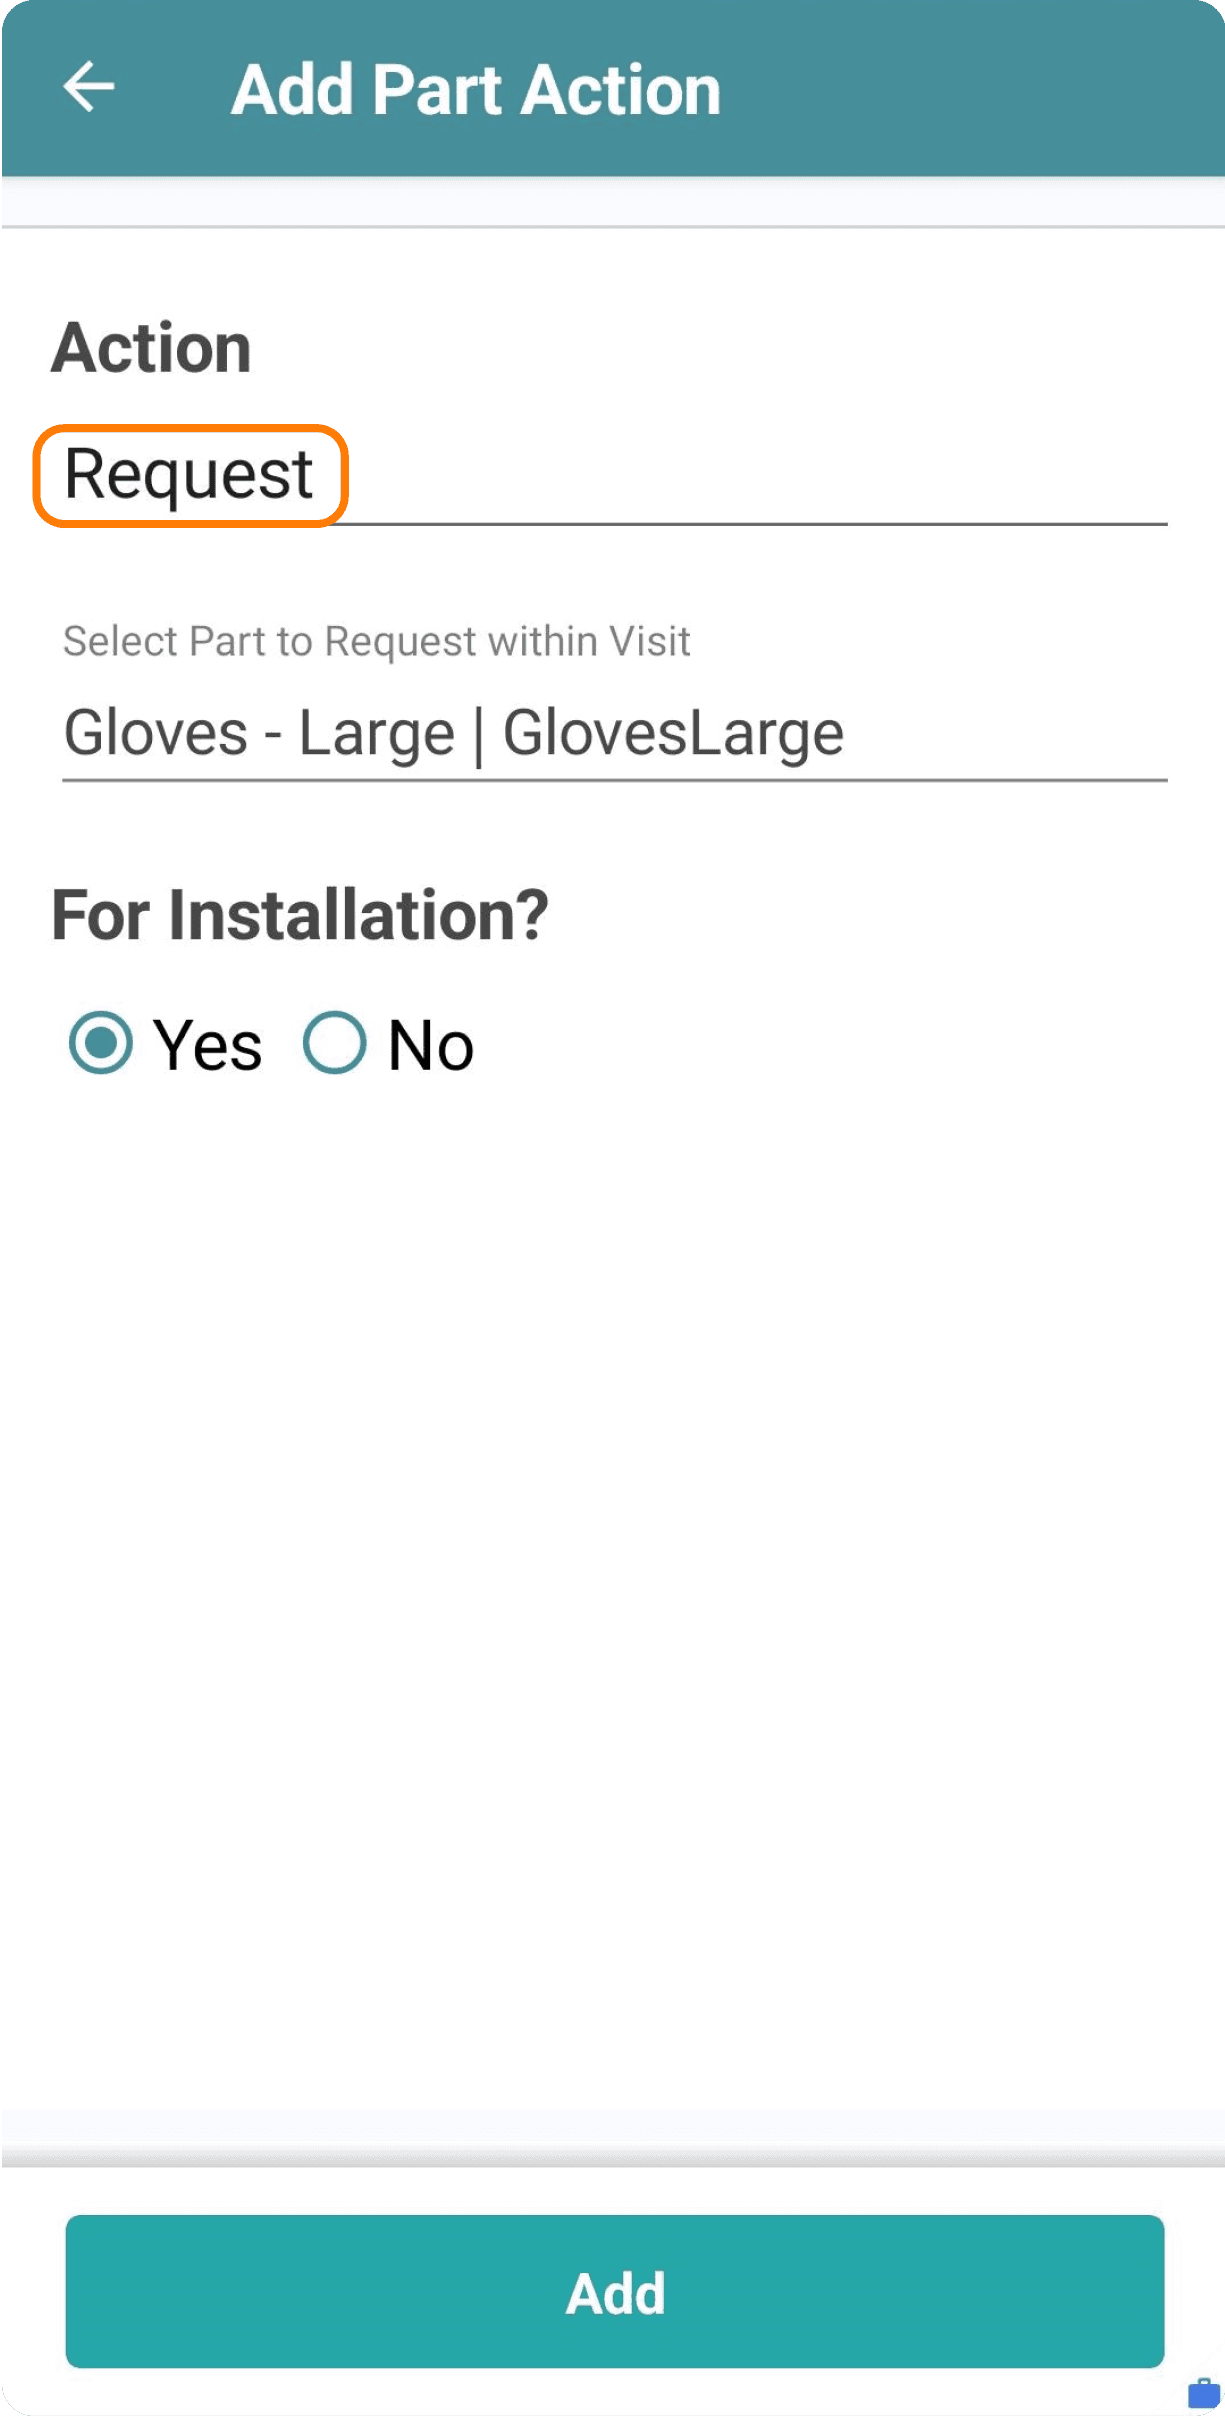
If you select “No” for the Installation option, you'll need to confirm the quantity required (0 is not a valid number). After entering the quantity, select ‘Add’ to return to the part actions table.
Part Action Table
All added actions will be recorded in the Part Actions table. The table displays the Action taken (Used, Installed, Replaced, Requested), along with the Part Reference and Part Name for easy identification.
As you add part actions, the Available in Stock field will decrease, especially if the same part is used in multiple actions.
Completing the Notes Section
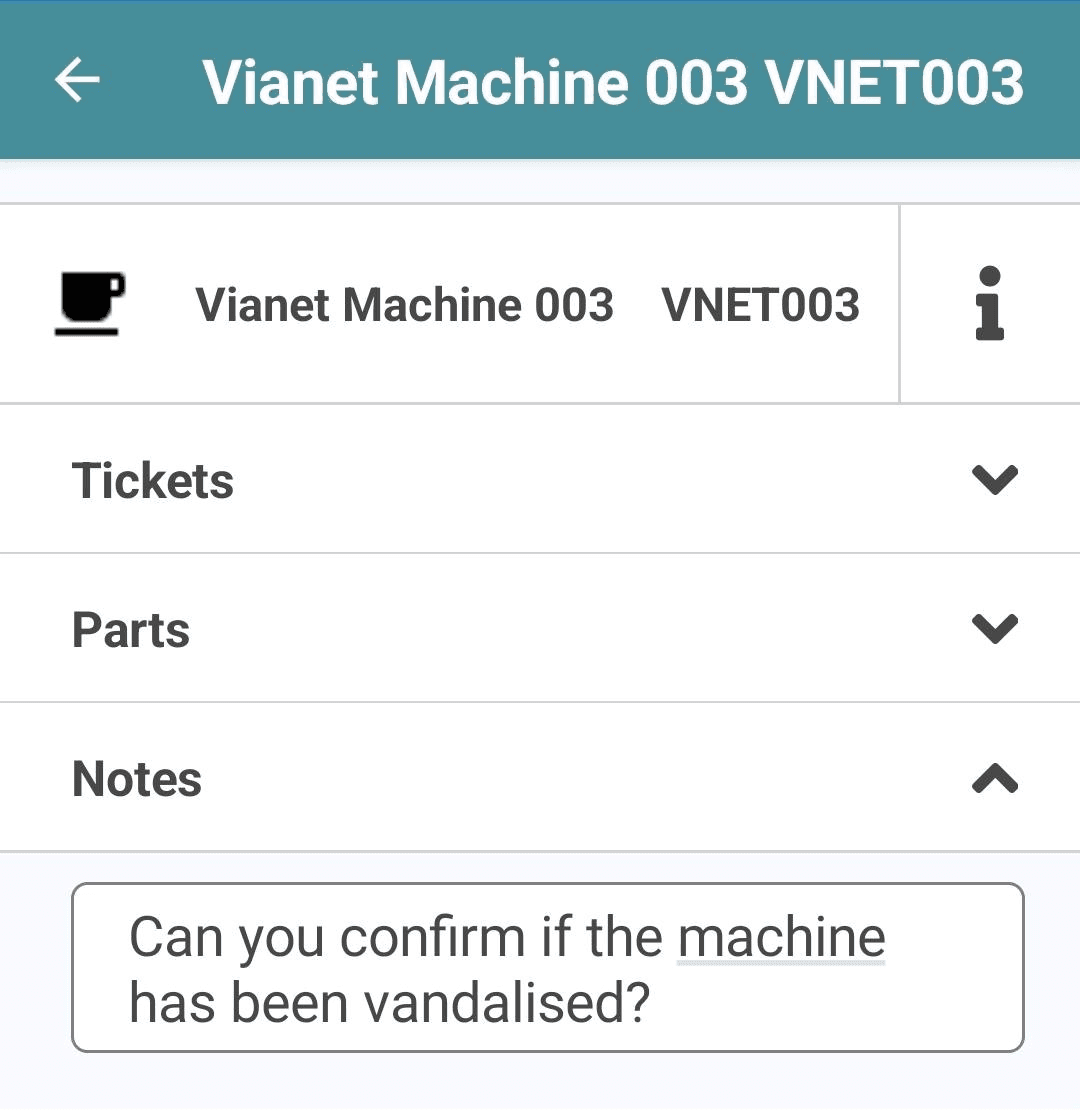
If there are specific Notes to capture for the visit sheet, you can record them here.
Submitting the Visit
Once all Tickets, Part Actions, and Notes have been recorded, you can submit the visit sheet.
Cancelling the Visit
If you cannot complete the visit, you can cancel it by selecting ‘Cancel’ within the visit sheet.
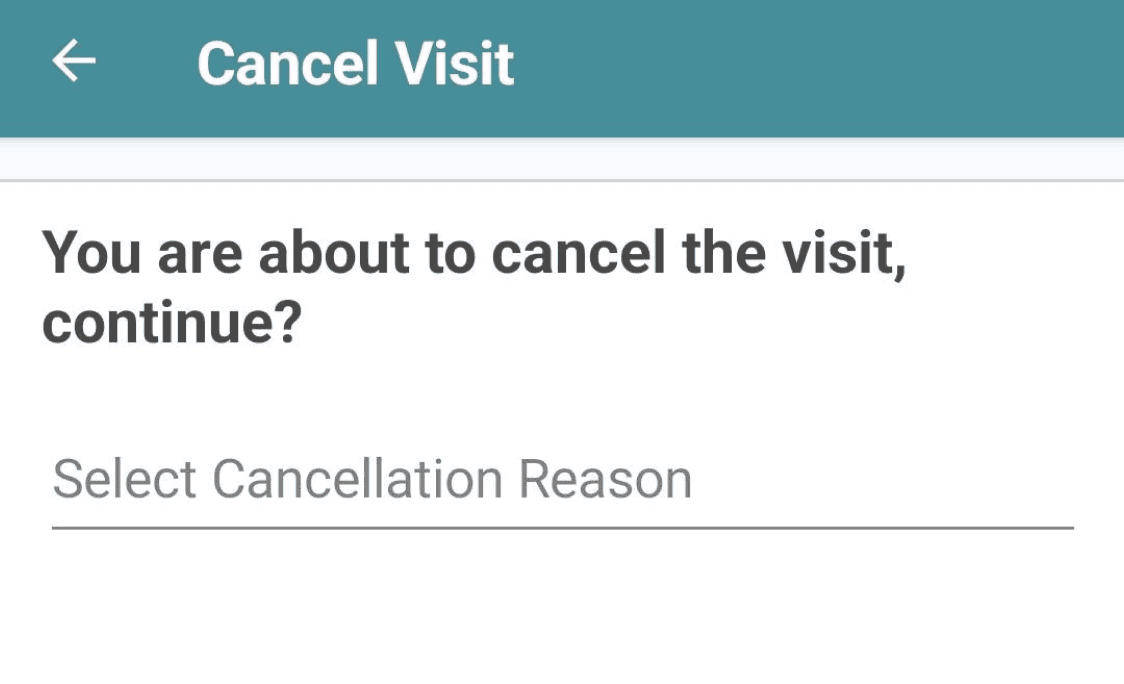
This will open a search field for a cancellation reason. Type in your reason, and matching options will appear below. Cancellation Reasons must match those set up in the back-office.
After selecting the reason, choose ‘Continue’ to submit the visit as cancelled. You’ll then be directed to the machine list, where the machine will be marked as ‘Cancelled’.
